What
Most of us likely already have a drawer full of old Android devices. Some may have server software running on a Raspberry Pi. Using a rooted Android device is an option for a small home server that is low-cost, low-power and low-maintainance. For this we need to replace the stock operating system with a new one and gain root access.
Contents
When
Why
Raspberry PI vs. Android mobile devices
But why do this? First let’s have a look at the advantages/disadvantages of running a small server on a Raspberry Pi vs. an Android device.
Reliablility
For a low-mantainance a server has to be reliable. You’d think a Raspberry Pi is more reliable than an Android phone, but from my experience that isn’t necessarily the case. My experience with a Raspberry PI 2 Model B and two different 3 Model B+ is that they consistently crash after a few days of operation. No matter what SD-Cards (even “known to work” SD-Cards of the “A1” line in various classes), no matter what power supplies or operating systems. The only Raspberry Pi that does relaibly work, well for approx half a year at a time, is one of the Model 3 B+ that is running the Victron OS for my solar power system. It’s a very light operating system that seems to be loaded in memory and doesn’t frequently access the SD-Card.
Cost
An old Android phone that isn’t in use anymore is basically free not considering you might be able to sell it. Old phones are so highly available in online auction houses that you can get a decent older model for cheap.
Power Consumption
The Raspberry PI 3B+ consumer about 260 mA of power when in idle. A phone, since it is built for prolonged battery life consumes only about 50 mA.
Performance
The Raspberry PI 3B+ runs a Broadcom BCM2837B0 SoC Cortex-A53 (ARMv8) 64-bit with 1GB of RAM.
The 2007 model “Galaxy J3 SM-J330FN” phone has a Samsung Exynos 7 Quad 7570 64bit SoC containing also an ARM Cortex-A53 (ARMv8) 64-Bit CPU. It has twice the RAM with 2GB.
Housing & Display
While the Raspberry PI come without an enclosure the phone, obviously already has this enclosure and comes with a display.
Backup Battery
Phones, even heavily used ones with a weak battery, can sustance some time without power due to their batteries.
Connectivity
A downside to using Android Devices for servers are the limited connectivity. They do mostly have SD-Cards slots with better SD-Card compatibility, but generally only one USB-Port that is also used for charging. There exist models with USB-OTG capabailities and there are y-Connector-Cables that allow charing while using the USB-Port for a USB-Stick oder similar.
It’s possible to connect an microcontroller via a USB-TTL-Converter (something I’ve done for my Cocktail Mixing Machine), but it’s a bit more involed.
Though phones usually sport more stable and faster Wifi, 4G and GSM and better Bluetooth, so there’s a bunch of advantages right there. there.
Background
Android is Linux
The reason this even works is because the Android operating system that powers most mobile phones and tablets is actually based on Linux. All we need to do is replace the operating system and overwrite it with a cleaned up Linux with full administrative priviledges. This process is called “flashing” (installing a new operating system to the flash ROM chip) and “rooting” (gaining “root”-user priviledges).
How
Rooting the device
A lot can be run without rooting the phone, but the energy saving and screen locking mechanisms frequently shut down apps. We also need to be able to autostart processes on boot that normally wouldn’t be easily possible.
In order to change these kind of settings we need fully priviledges. Frankly also to remove much of the garbage and free some space, gain stability and disable auto-updating and phone home features.
I’ve rooted a bunch of mobile devices. The process is very different every time.
- LG D605: straight forward fastboot unlock and adb flash
- LG H440n: not possible at the time
- ZTE Axon 7: fastboot unlock and adb flash and/or, if accidently flashed a wrong recovery image, jumper wire on the mainboard to put the Qualcomm processor in a special mode and use Qualcomm software to flash. With Kingroot it’s also possible to overwrite the recovery image with TWRP using “dd”.
- Samsung Galaxy Tab P3110: if I recall correctly install the Kingroot spyware riddled exploit, then flash recovery followed by the new OS
- Xiaomi Mi 8: send in a written(!) request to the chinese manufacturer to request, with reasoning, to get permission to root your device.
- Samsung Galaxy Tab A2 SM-T580: see below
You will need to look up how to root your specific device, but there are helpful guides online for most devices.
Disclaimers: Keep in mind that rooting can brick the device, that the custom os may contain security vulnerabilities and backdoors and that afterwards apps that detect root, such as banking apps likely won’t work. I wouldn’t suggest using banking apps on a rooted device anyhow and the goal here is to use the device as an insecure mini server that will be exposed to the internet.
Rooting a Samsung Galaxy Tab A2 SM-T580 on Linux (see also 1)
Enable Developer Mode and OEM-Unlock
It took me some 3-4 hours of fiddling around to figure out how this works for this particular tablet while also documenting the process.
The process for me was as follows:
1) Fully charge the device
2) Backup your data
3) Under “Settings” -> “Info” -> “Software Information” -> Tap “Build Number” five times to enable developer mode
4) Under “Settings” -> “Developer Mode” -> enable “OEM-Unlock”
5) Connect the tablet to you Linux computer via USB
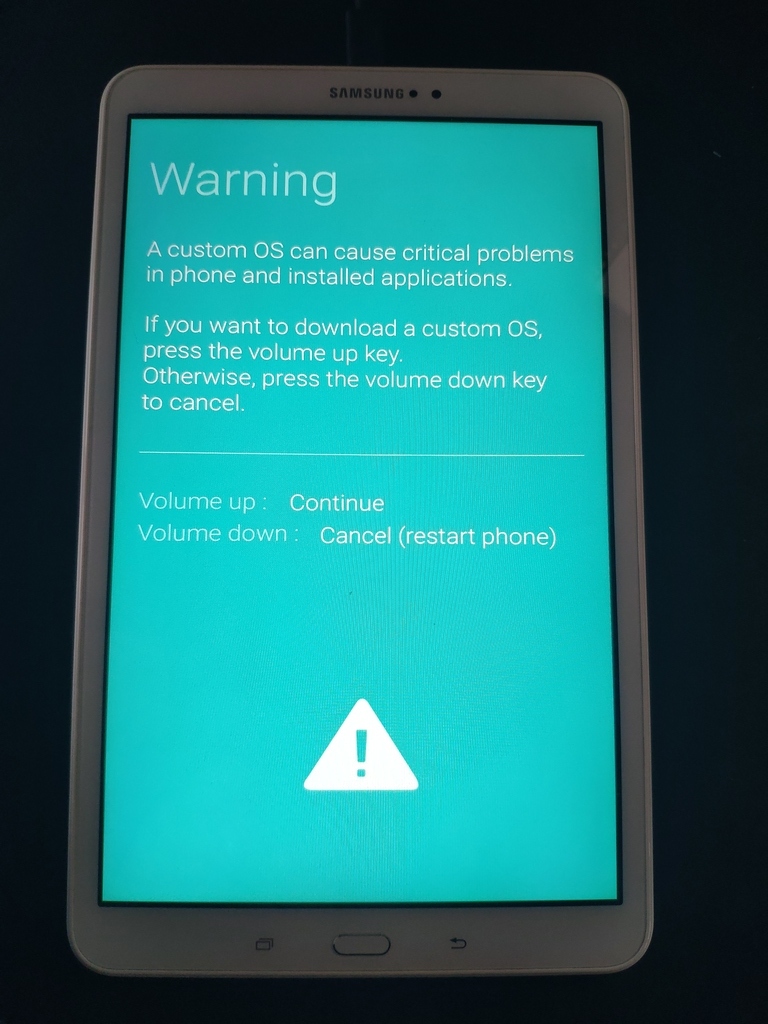
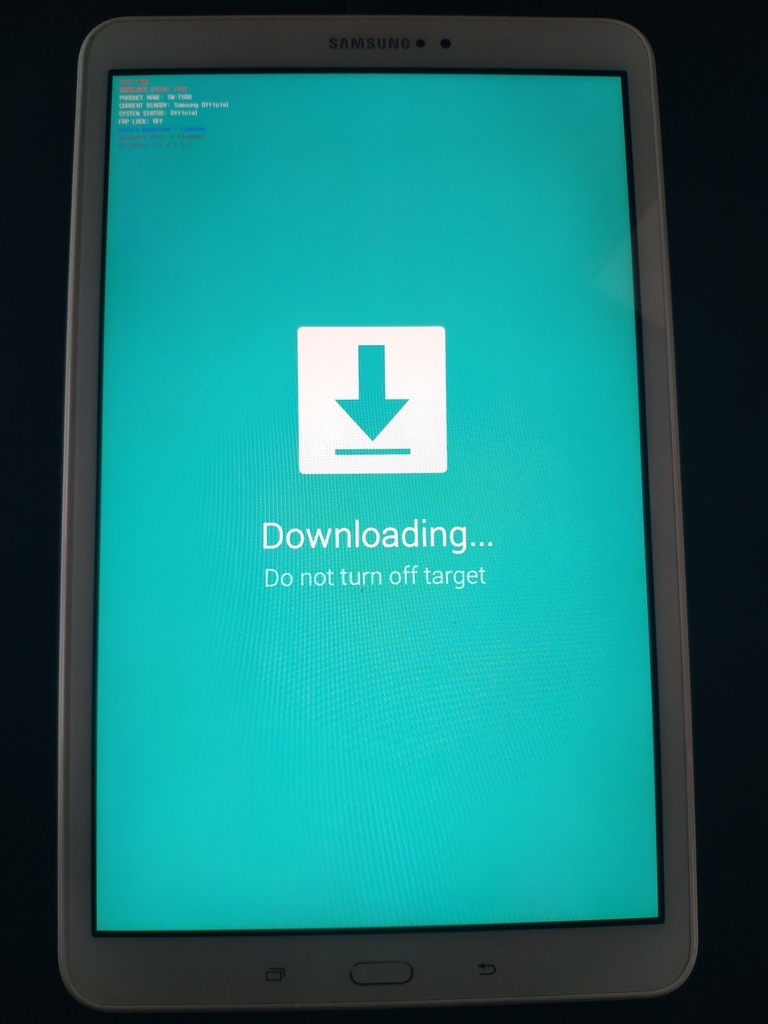
6) Switch off, then hold “Home + Power + Volume down” for a few seconds to get into “download mode” and “volume up” to continue after the warning
Flash the TWRP Custom Recovery
7) on the Linux PC
sudo apt -y install heimdall-flash
heimdall detect
shows “Device detected”
8) get compatible twrp recovery image “twrp-3.7.0_9-0-gtaxlwifi.img” (from [2])
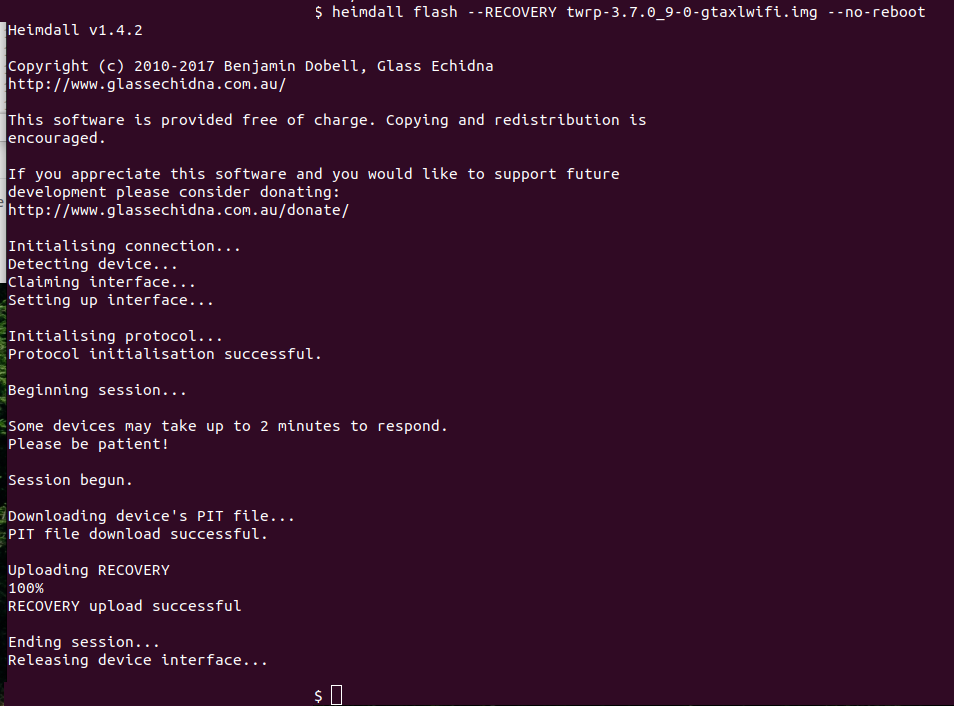
9) flash recovery
heimdall flash --RECOVERY twrp-3.7.0_9-0-gtaxlwifi.img --no-reboot
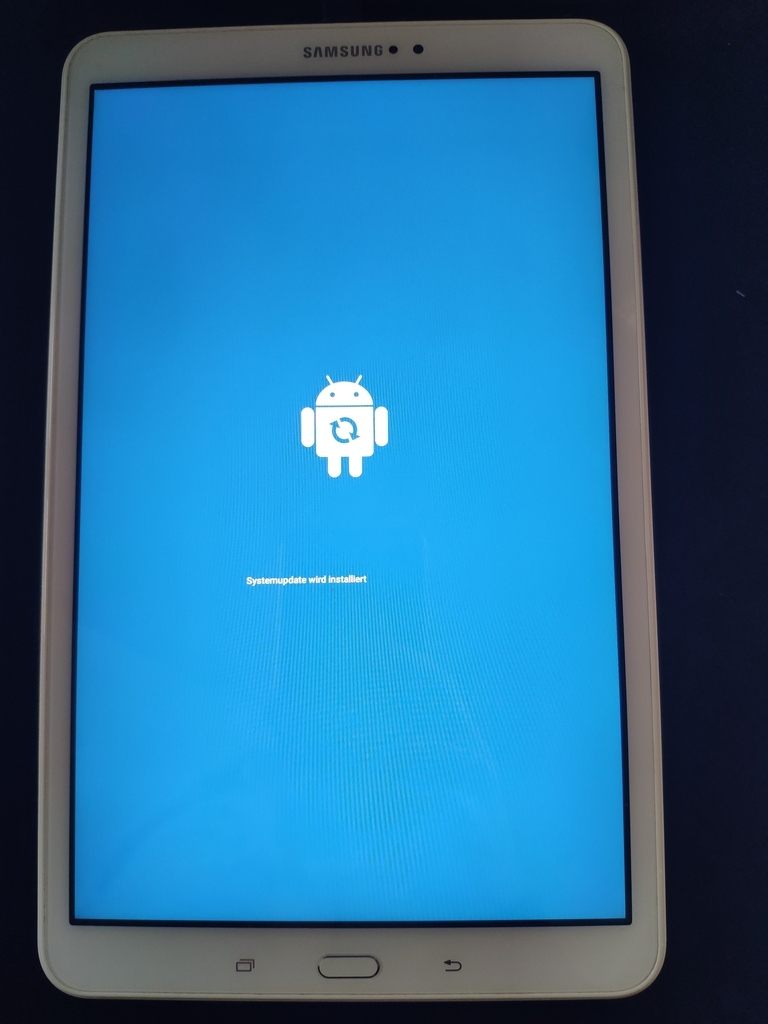
10) Hold Volume Down and the Power for 7 seconds to restart
11) Hold Recovery Mode Keys “Home + Power + Volume up” (not “down” as before)
note if you’ve booted the original OS inbetween the TWRP recovery will be overwritten by the original samsung recovery and you have to repeat the previous steps.
The Samsung Recovery that you do not want to be in looks like this:
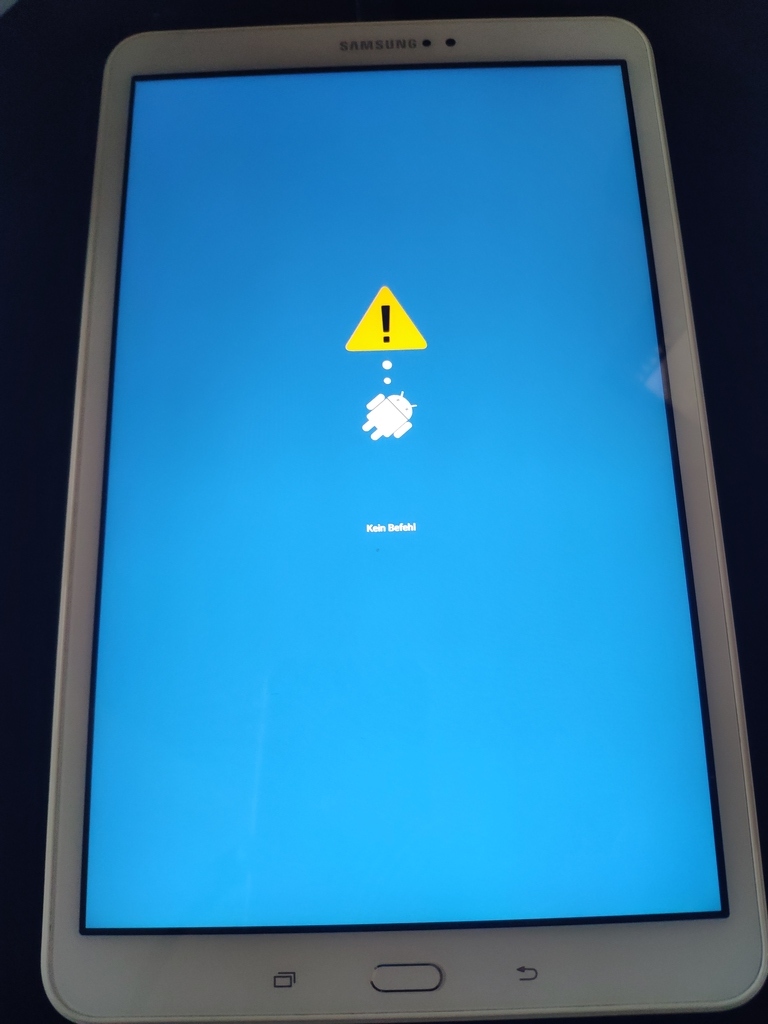
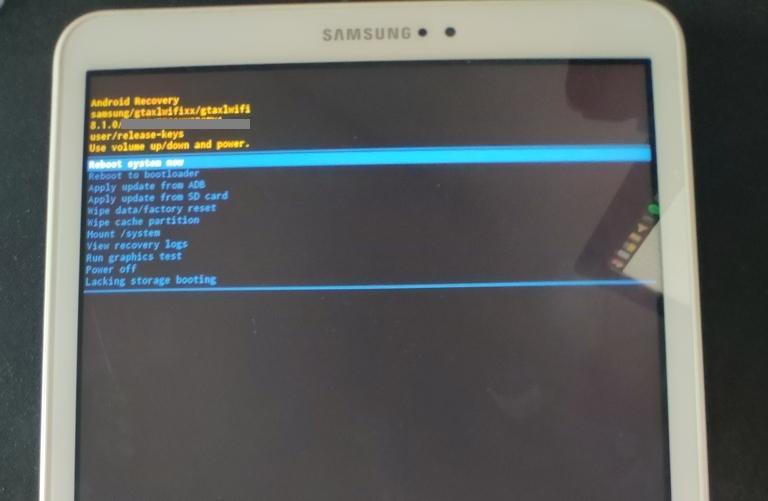
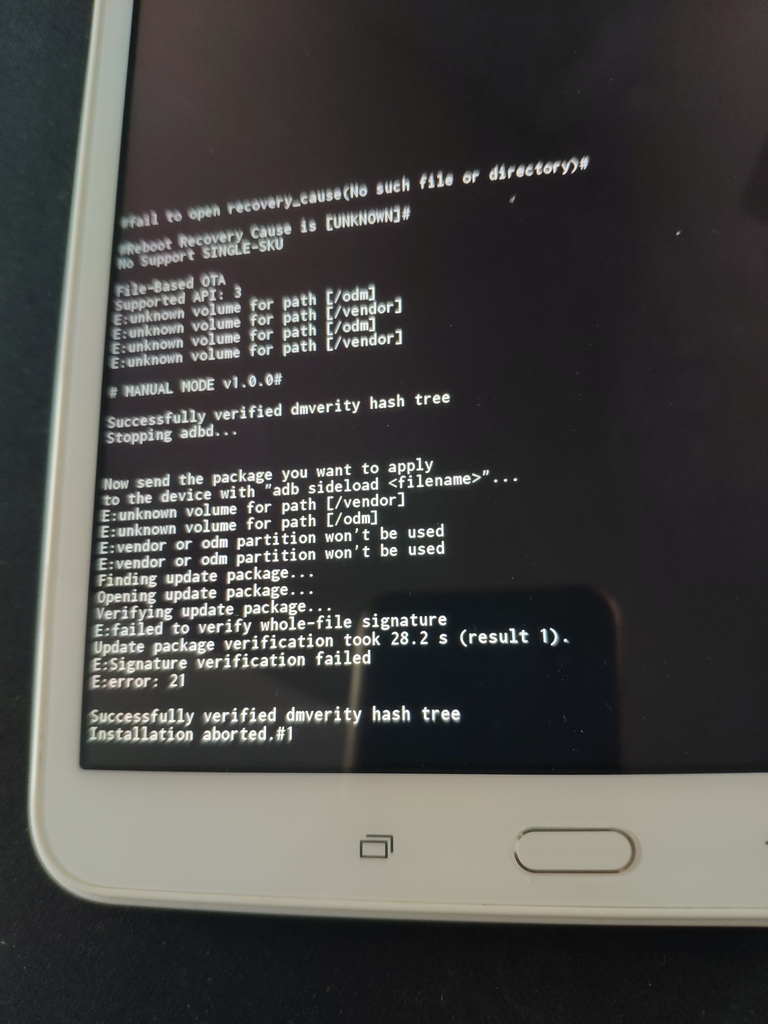
It contains an image signature verification with which we can install an OS with “adb sideload”, but it declines OSes that weren’t signed by the manufacturer.
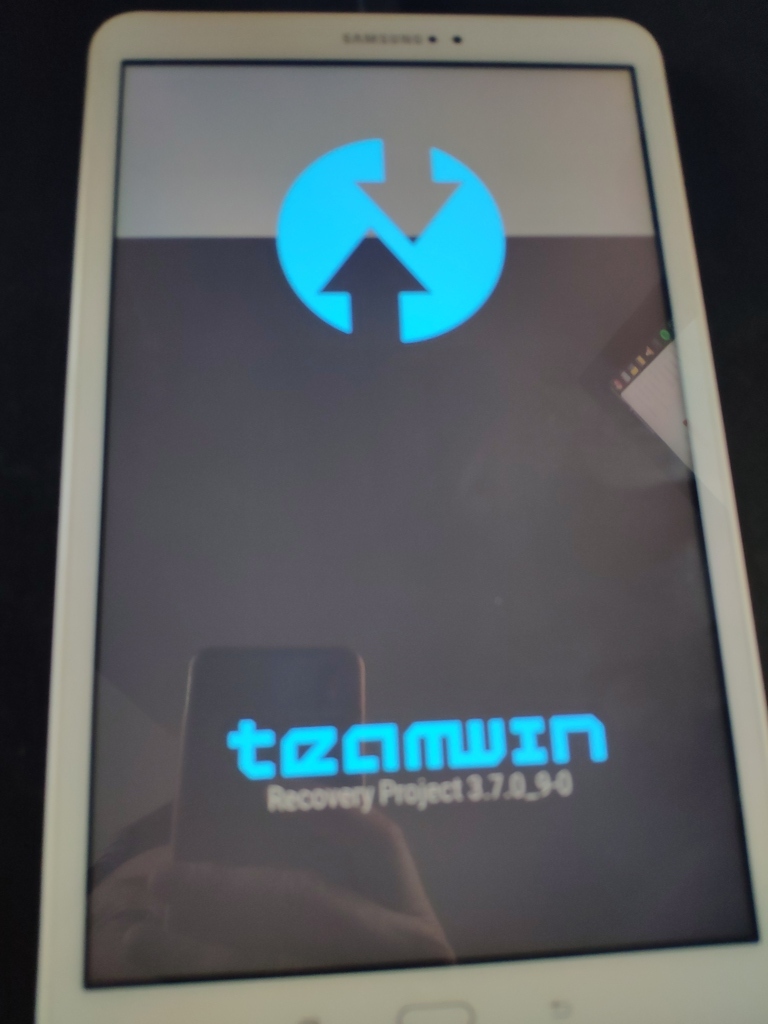
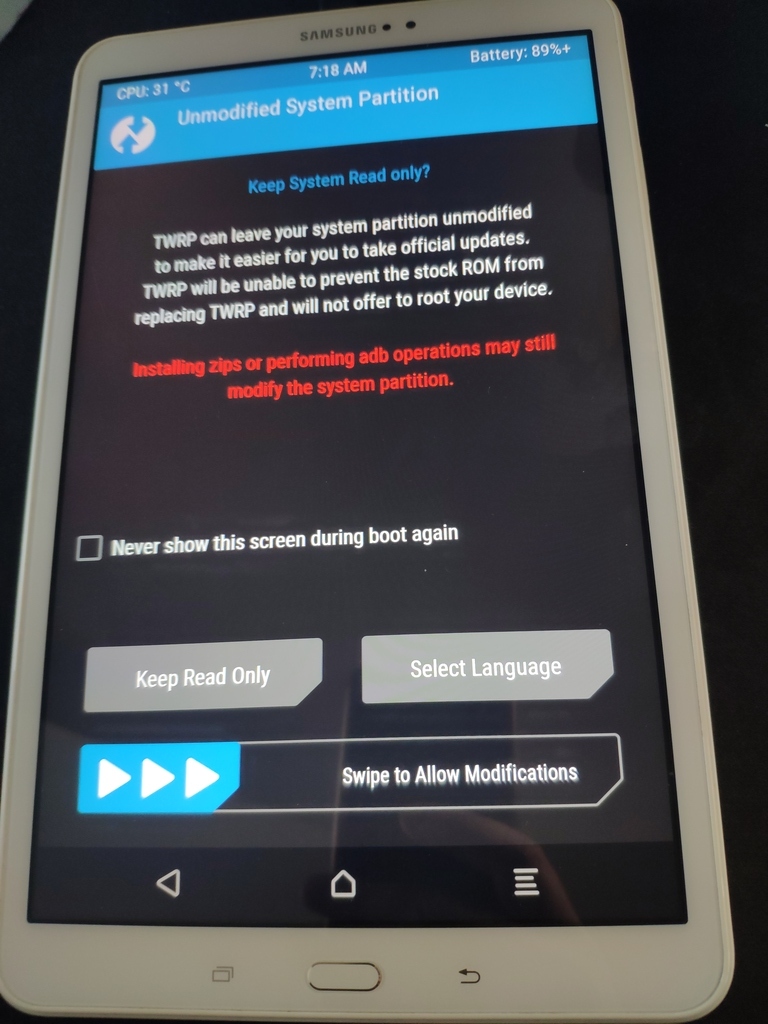
The correct TWRP recovery looks like this:
12) accept the warning by swiping right
13) on Linux
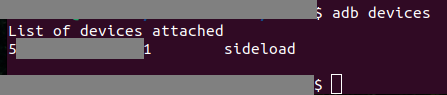
adb devices
TWRP shows up as
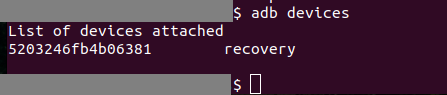
the incorrect samsung recovery would show up as “sideload”
Flash LineageOS
14) Get a compatible Lineage image (e.g. “lineage-19.1-20231213-UNOFFICIAL-gtaxlwifi.zip” from [4] or “lineage-18.1-20220130-UNOFFICIAL-gtaxlwifi.zip” from [5])
15) flash it
By first pushing the image on the device
adb push lineage-19.1-20231213-UNOFFICIAL-gtaxlwifi.zip /sdcard
and then “install” it via the menu in TWRP
16) if “Failed to mount /data (Invalid Argument)” errors appear we need to fix the file system (see also [6])
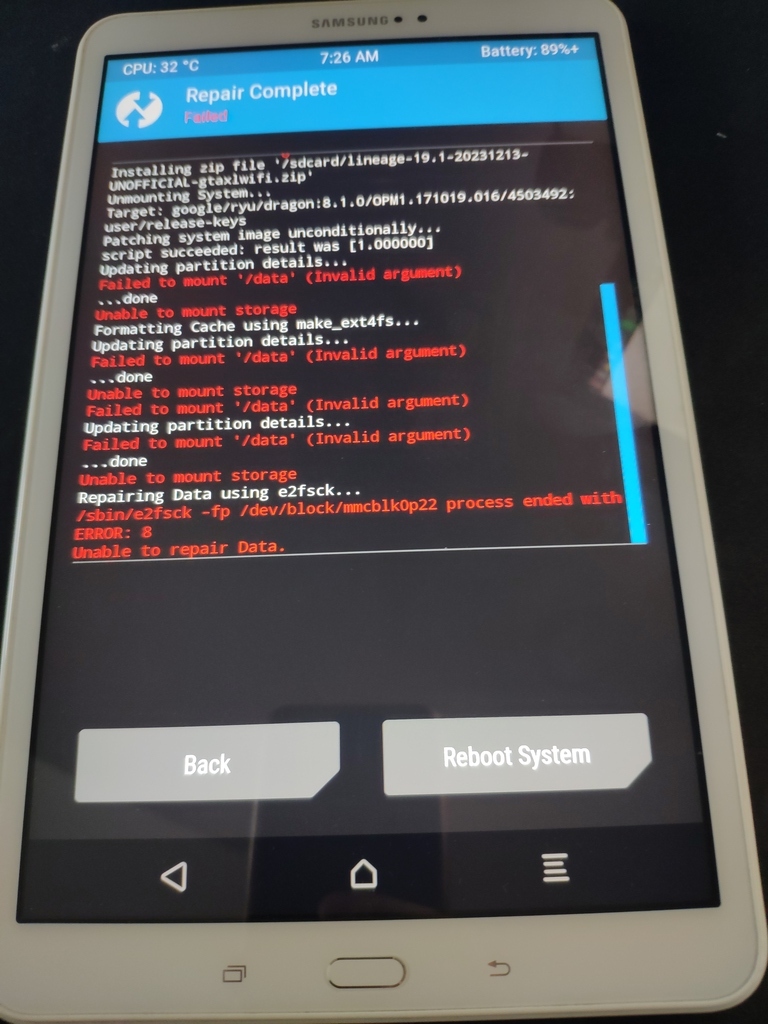
In TWRP: wipe -> advanced wipe -> select data, “repair or change filesystem” -> “change file system” -> “ext4”
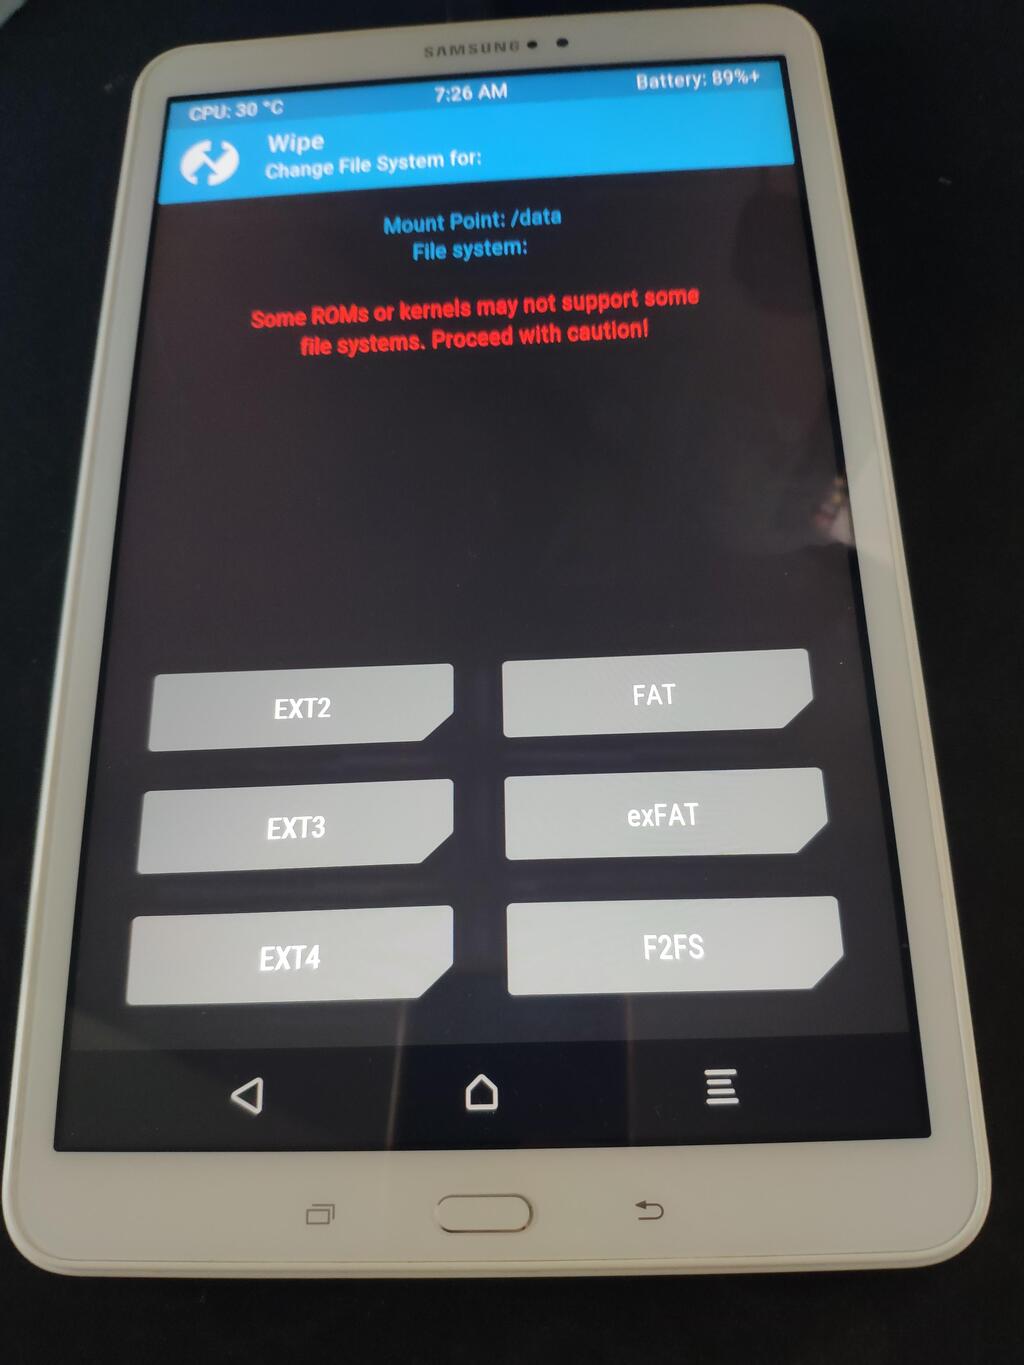
and install lineage in TWRP again. This time it should succeed

17) Press “Wipe Cache and Dalvik” and “Reboot System”
18) Boot into Lineage
19) if “Encryption unsuccessful”
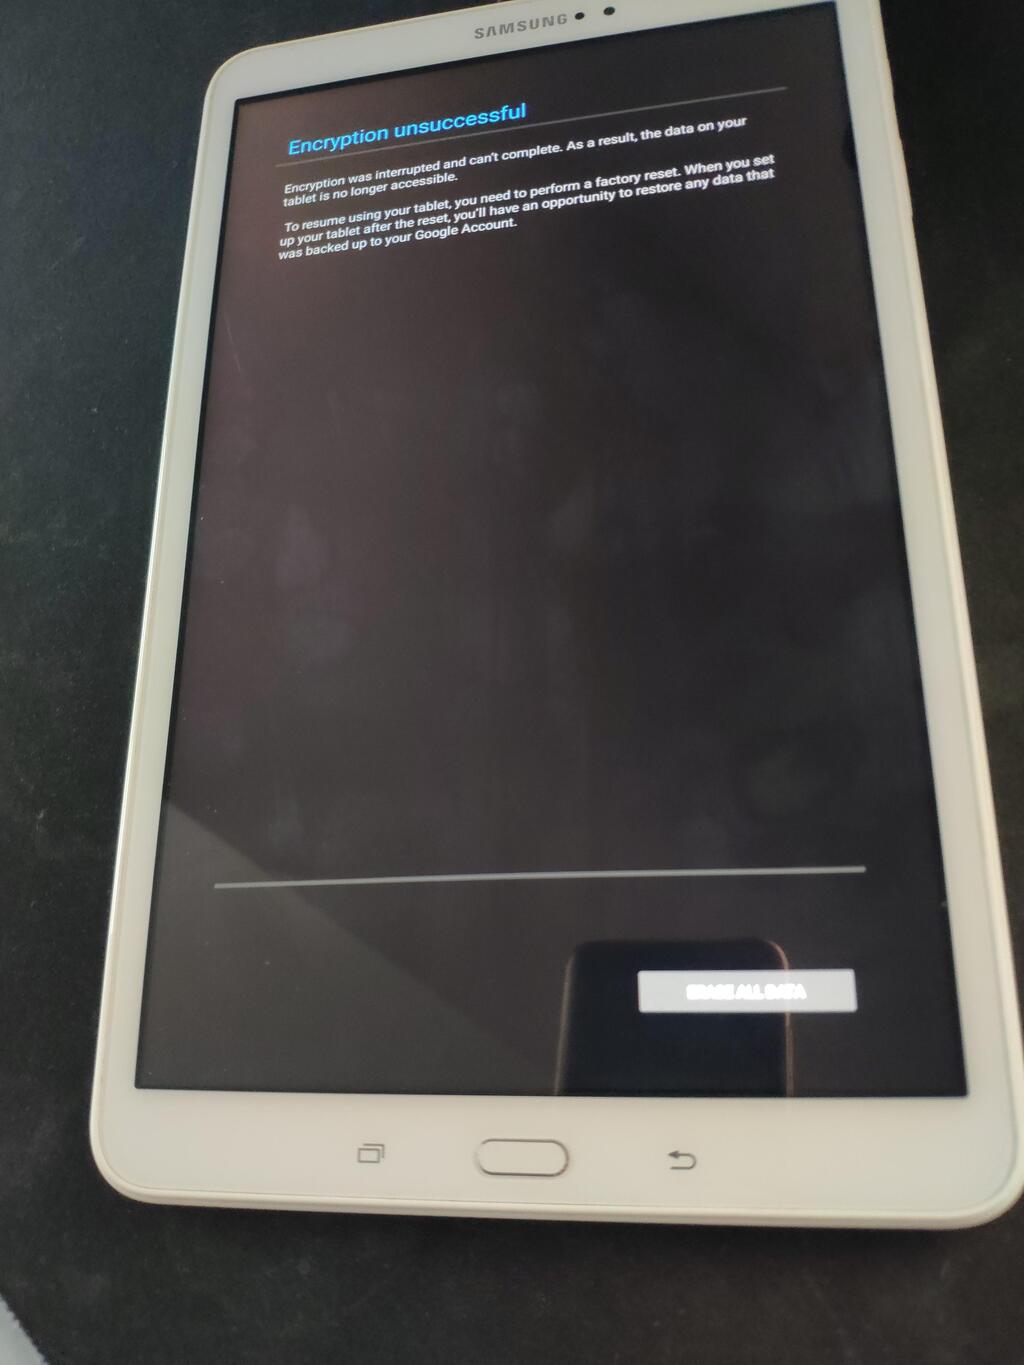
Initially I ran into an “encryption unsuccessful” error that caused a boot loop.
I don’t know what exactly fixed it, but it has to do with the /data partition. That partition has to be formated as “ext4” in TWRP and we need to “Wipe Data” and confirm that by spelling out “yes” in TWRP to get rid of the encryption (see also [7])
I had to repeat the flashing (step 13)
Even though mentioned in online forums this had nothing to do with OpenGoogleApps or the rooting package Magisk.
I’ve also installed the “no-verity-opt-encrypt-6.1.zip” (see 10) via TWRP “dm-verify and forced encryption disabler”, but can’t say for certain if that was ultimatly the fix. After repeating the some of the above steps it worked at some point.
I’m now running
Model: SM-t580
OS: lineage-19.1-20231213-UNOFFICIAL-gtaxlwifi.zip
Android Version: 12
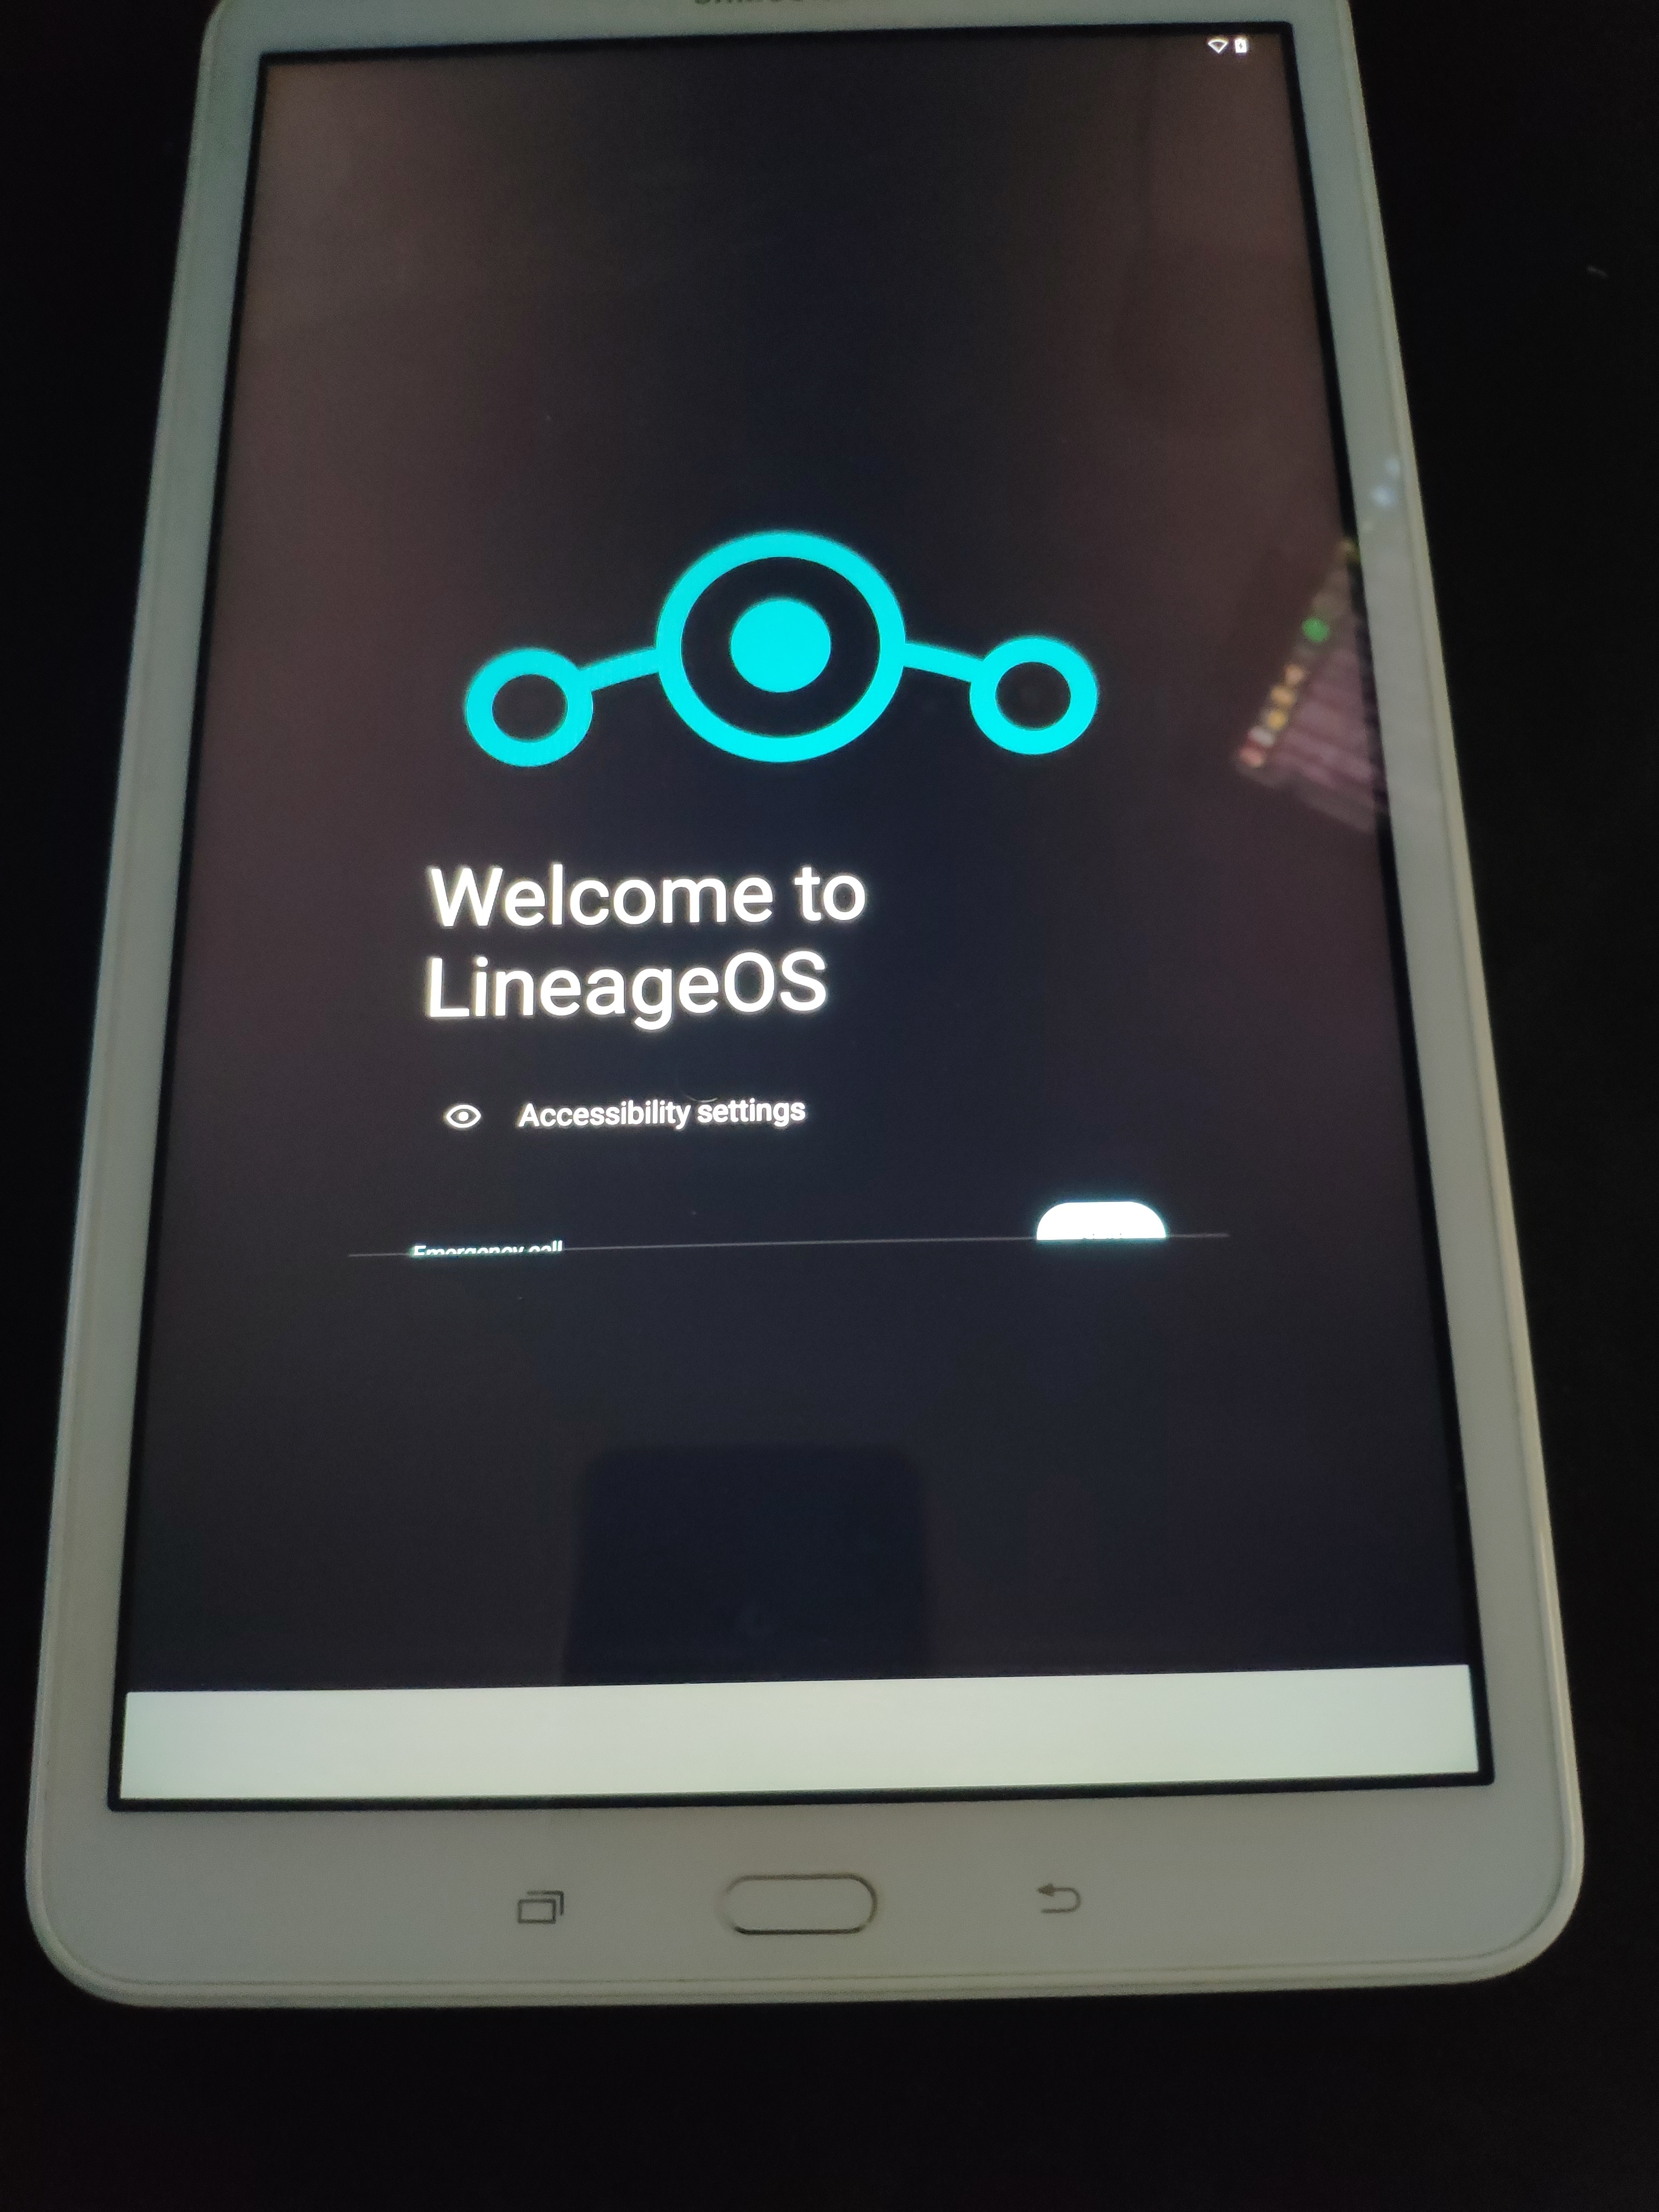
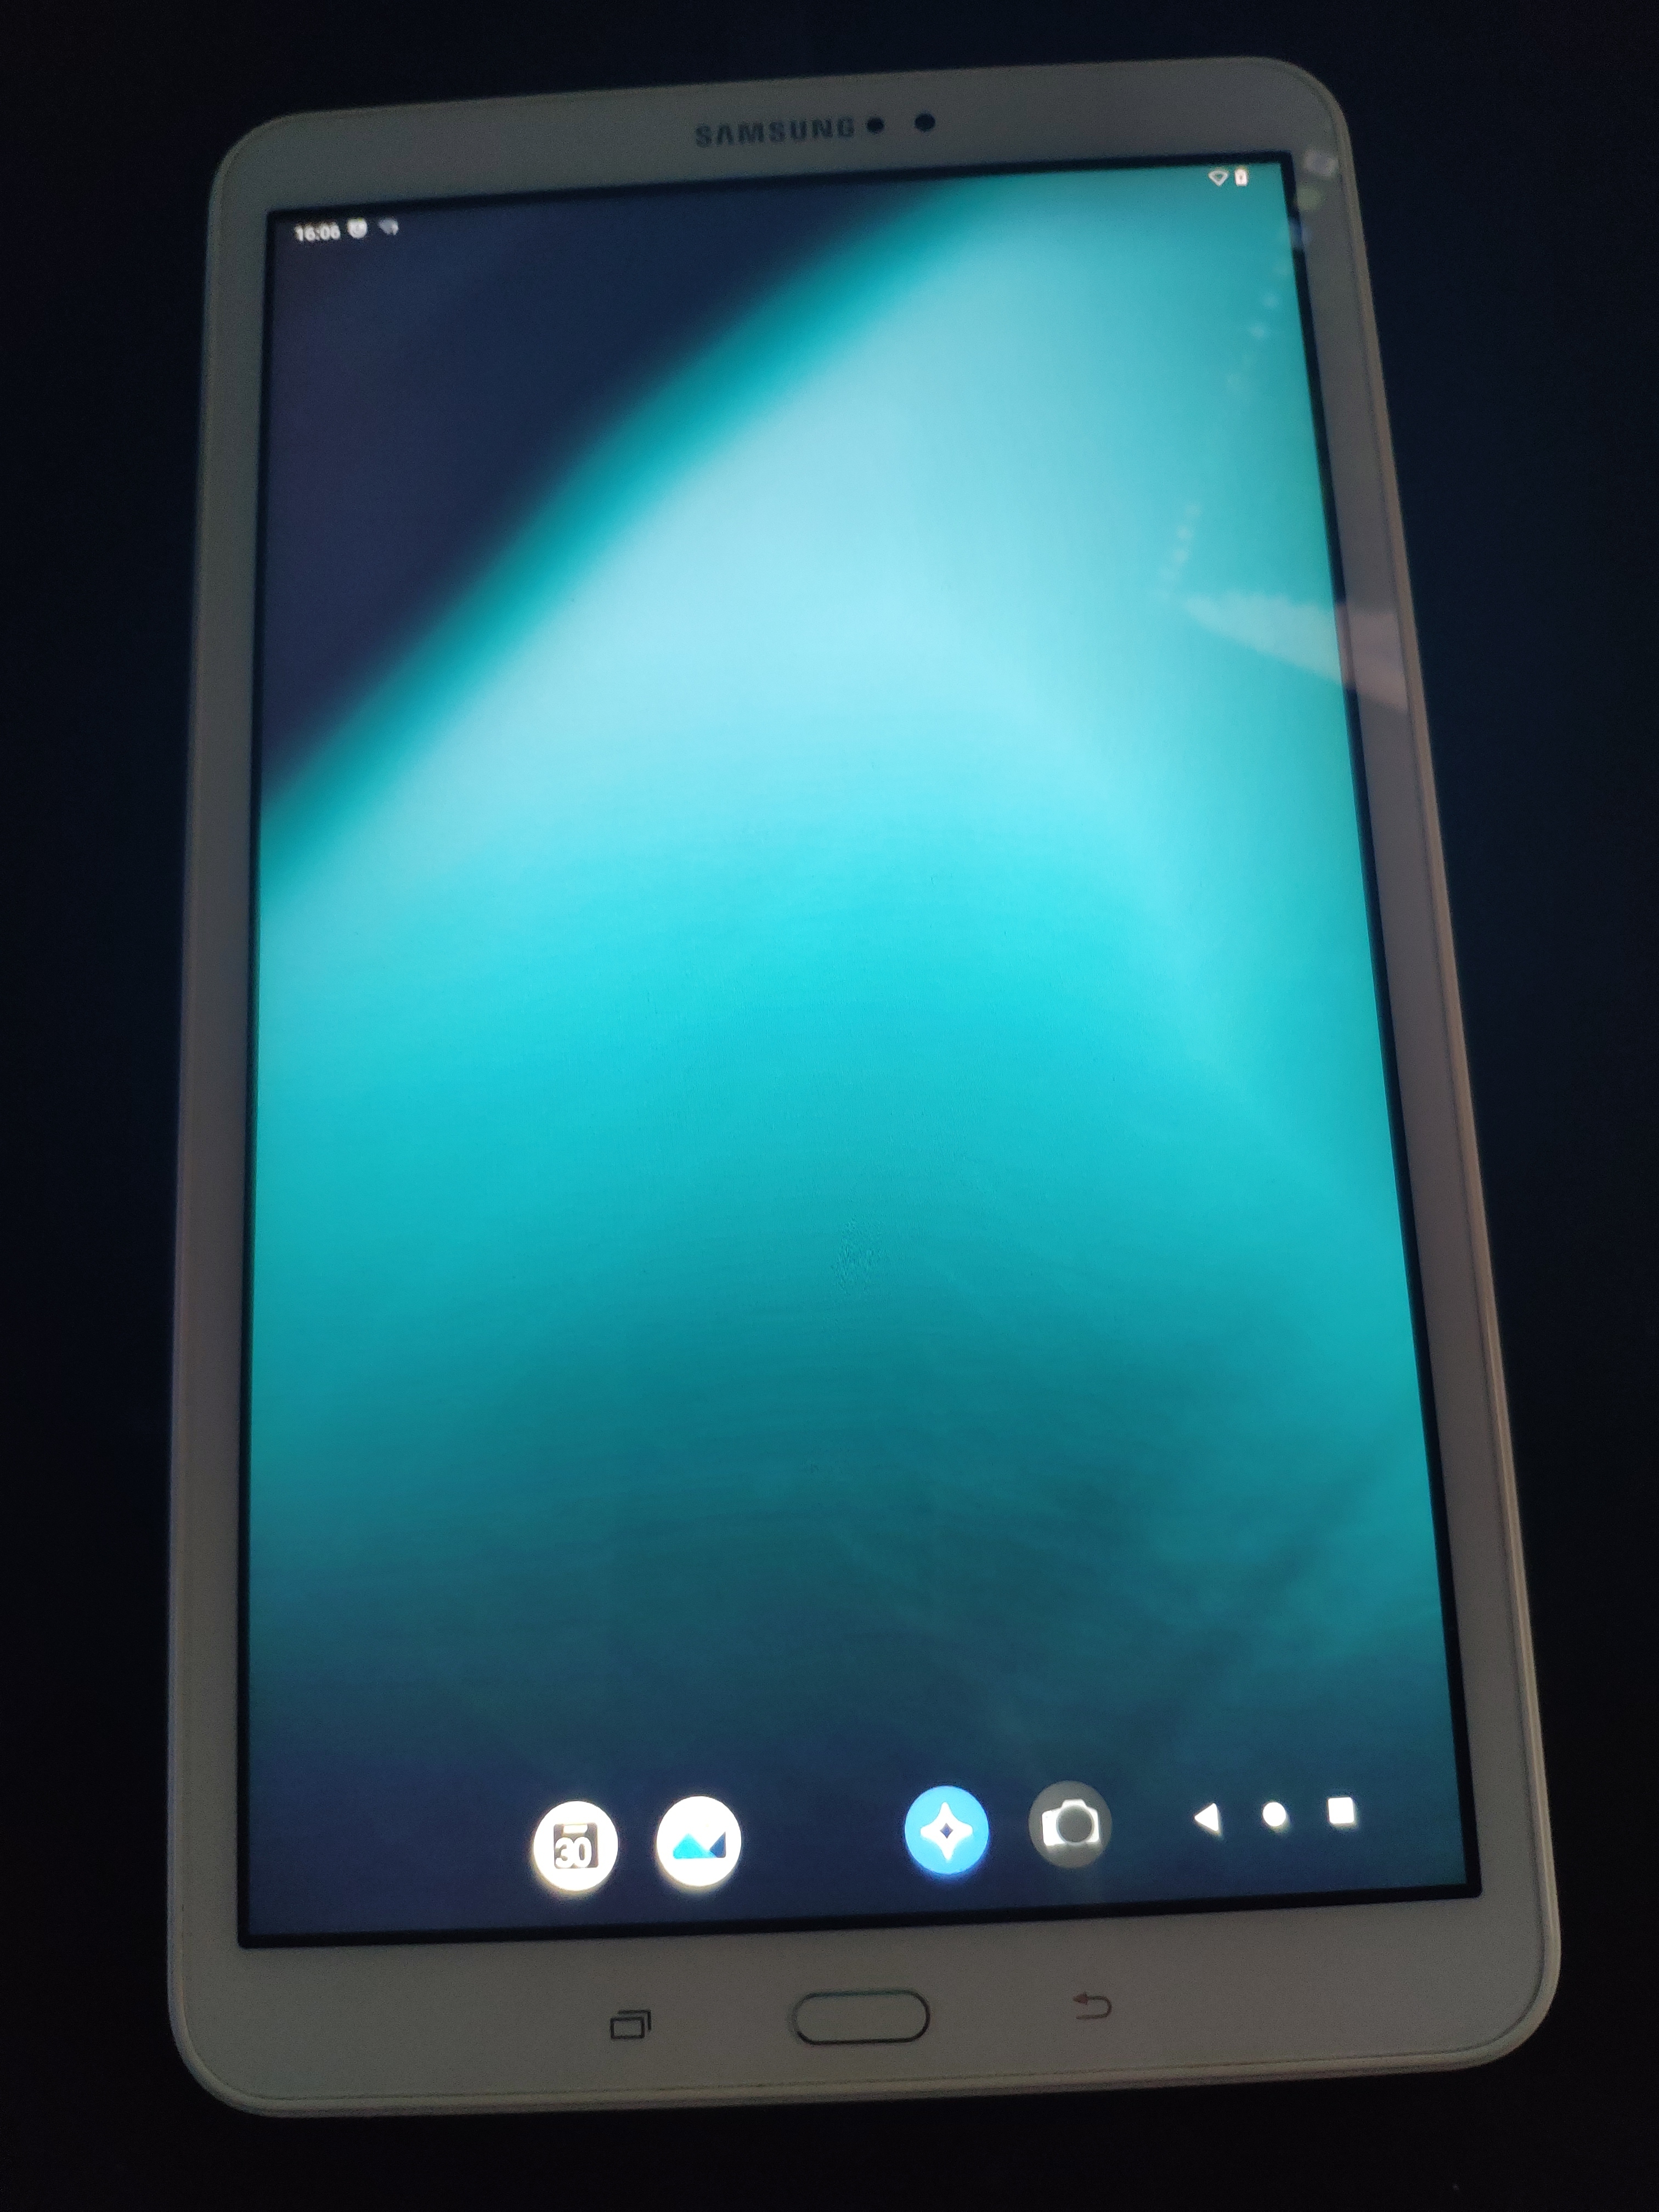
20) When Lineage OS boots for the first time it looks like this
Gain root priviledges
21) We can now gain root privilidges by installing Magisk
- from the Browser download “Magisk-v24.1.zip” from Lineage Browser.
- Reboot into TWRP (by turning off and holding the above mentioned button combination) and install Magisk from TWRP.
- Reboot into the OS
Enable ADB
22) This time in LineageOS we again enable Developer-Mode and “adb”
- under Settings -> Info press “Build Number” 5 times
- under Settings -> “System” -> “Developer Mode” enable “USB Debugging”
- accept the popup that asks whether your connected PC is trustworthy
- on your Linux PC the device should show up again in the device list
adb devices
Install Termux
23) Install the Termux terminal emulator and try superuser access
First set up the Wifi connection on the device.
from Linux with the device connected we can then run:
wget https://f-droid.org/repo/com.termux_118.apk
adb install com.termux_118.apk
and start it
adb shell am start -n com.termux/com.termux.app.TermuxActivity
- in termux “su” should now work
we can send that command from the Linux PC via adb to the current app in focus on the device by
adb shell "input text 'su' && input keyevent KEYCODE_ENTER"
Progress
Conclusion
With the above we now have a new recovery image, TWRP and operating system, LineageOS, with root and the termux terminal emulator installed on the Android device.
This allows us to install server software as described in the next part of this series.
1] https://xdaforums.com/t/recovery-sm-t580-sm-t585-official-twrp-for-galaxy-tab-a-10-1.3995181/
2] https://dl.twrp.me/gtaxlwifi/
3] https://www.hardreset.info/de/devices/samsung/samsung-t580-galaxy-tab-a-101-2016-wifi/recovery-modus/
4] https://xdaforums.com/t/lineageos-19-1-for-sm-t580-gtaxlwifi-sm-t585-gtaxllte-sm-p580-gtanotexlwifi-and-sm-p585-gtanotexllte.4432957/
5] https://www.android-hilfe.de/forum/root-custom-roms-modding-fuer-samsung-galaxy-tab-a-2016-10-1.3054/rom-sm-t580-unofficial-lineageos-18-1-android-11-hin-und-wieder-updates.998072.html
6] https://droidwin.com/failed-to-mount-data-invalid-argument-in-twrp-fix/
7] https://www.android-hilfe.de/forum/bootloop-freeze-oder-nicht-startendes-samsung-galaxy-s7.3618/solved-s7-encryption-unsuccessful.940158.html
8] https://www.android-hilfe.de/forum/root-custom-roms-modding-fuer-samsung-galaxy-tab-a-2016-10-1.3054/rom-sm-t580-unofficial-lineageos-18-1-android-11-hin-und-wieder-updates.998072.html
9] https://opengapps.org/
10] https://build.nethunter.com/android-tools/no-verity-opt-encrypt/
11] https://www.android-hilfe.de/forum/root-custom-roms-modding-fuer-samsung-galaxy-tab-a-2016-10-1.3054/rom-sm-t580-unofficial-lineageos-18-1-android-11-hin-und-wieder-updates.998072.html