What
BluePill development boards are common in hobbyist projects. Unfortunately online shops have been flooded with cheap knock-offs and it has become increasingly difficult to source genuine parts. I’ve tried to replace the fake Stm32 chip on a knock-off development board with a genuine part. That ultimately failed, but I’ll share my experiences.
When
This whole challenge came about, when I started working on the SD-Card adapter for the Atari ST. The Acsi2Stm-Project is built around these Bluepill development boards. It would require considerable effort to transfer the project to a different board.
Why
After having bought two knock-off boards and finding that you literally can not buy any genuine BluePill development boards online, I thought I might try somehow replacing the chip.
Background
Types of fake Bluepill Development Boards
The fake dev boards you get from many sellers on a well-known online auction house seem to come primarily in two main variants.
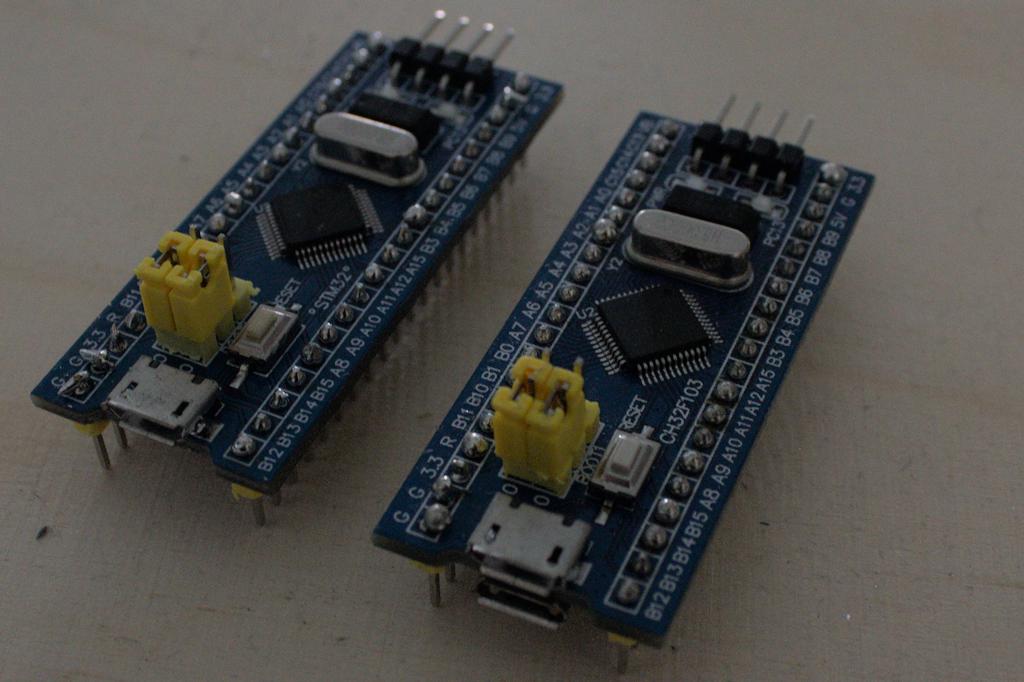
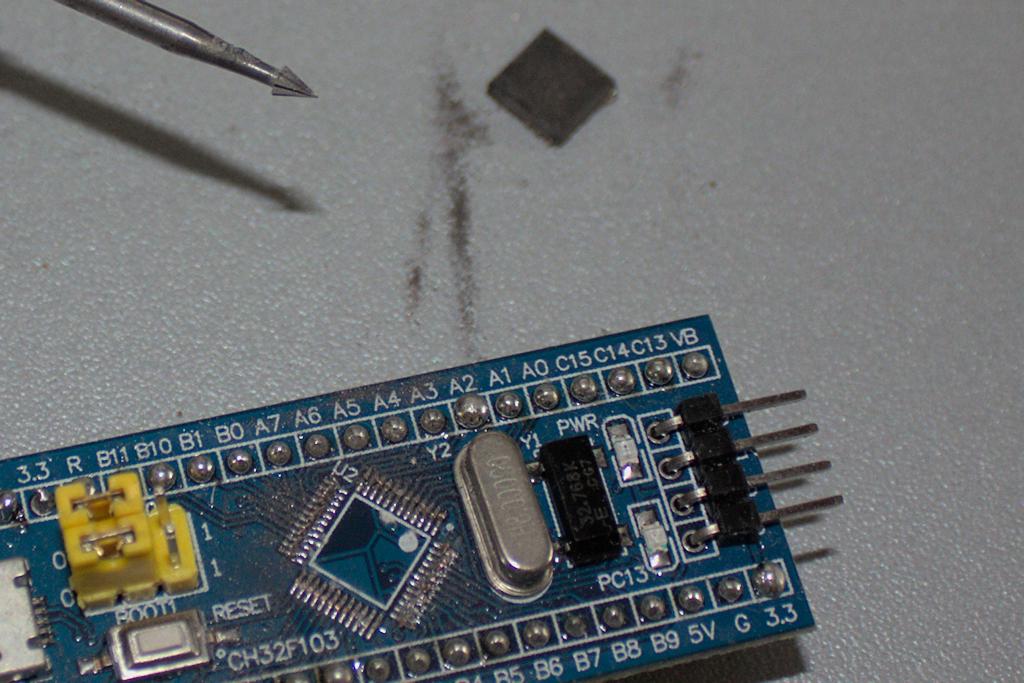
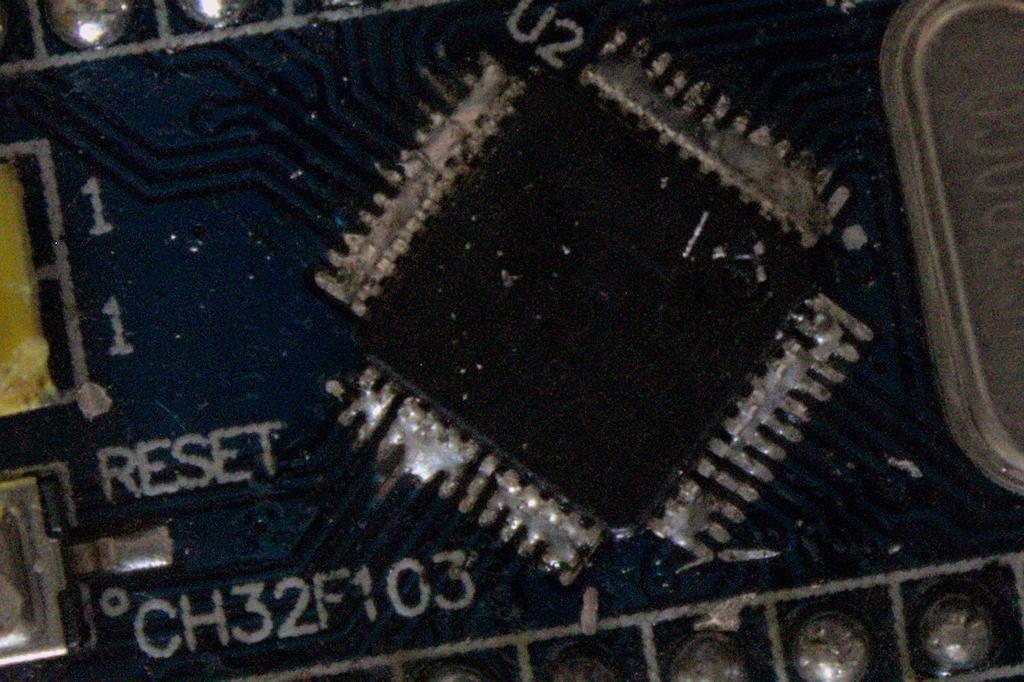
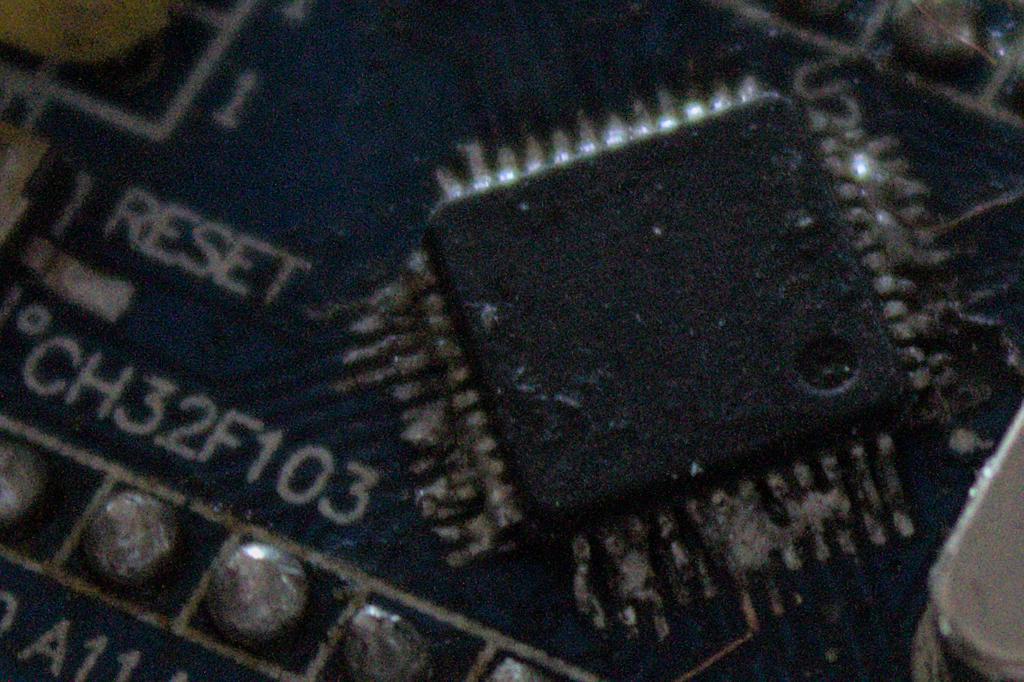
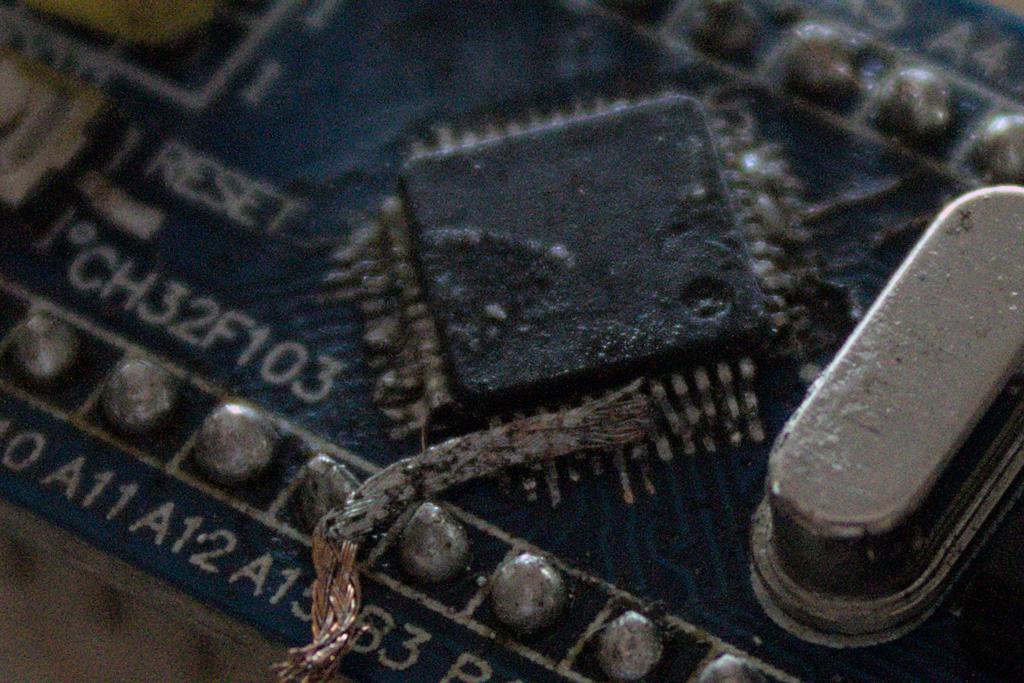
Two fake BluePill Development boards
- On the right a board with a ch32f103 (instead of stm32f105).
- On the left a board that seems to have a completly different STM32-chip - usually with less flash-able memory -, but was sanded-off and relabelled.
The one with the sanded-off chip appears valid to the computer when flashing, but then fail even at blinking an LED. The ch32f103 can’t be flashed in the standard way at all. Both fail at even blinking an LED.
Packaging
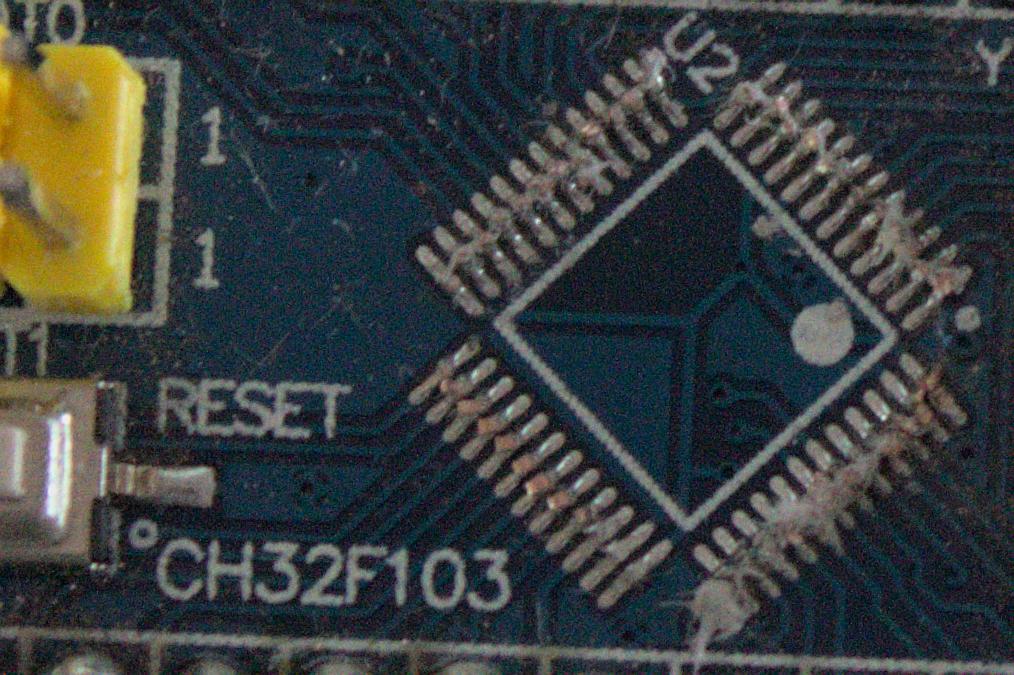
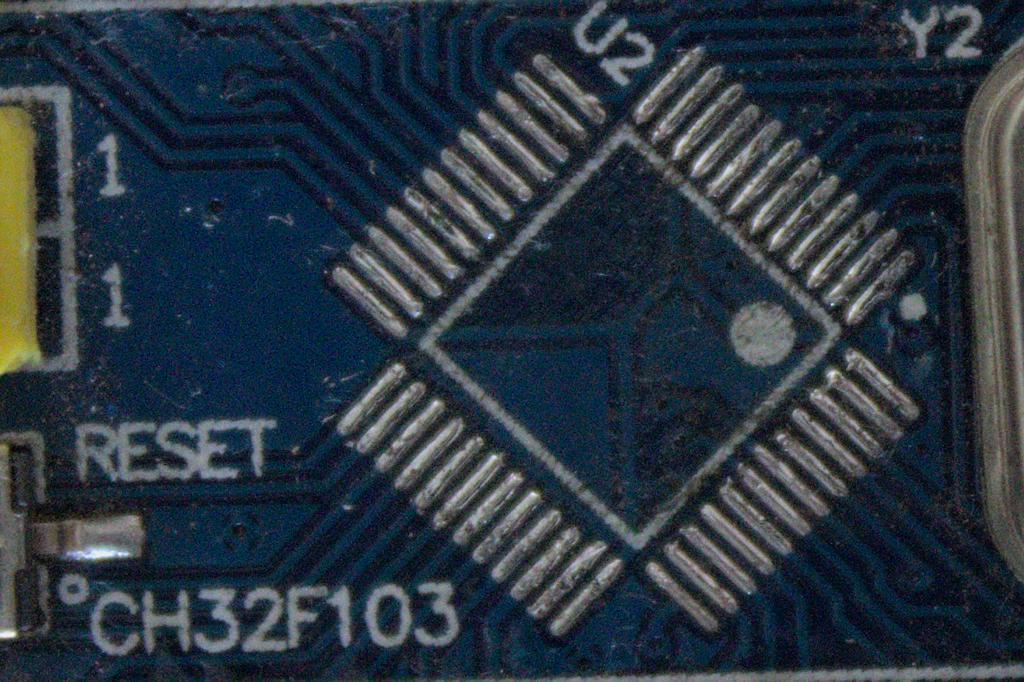
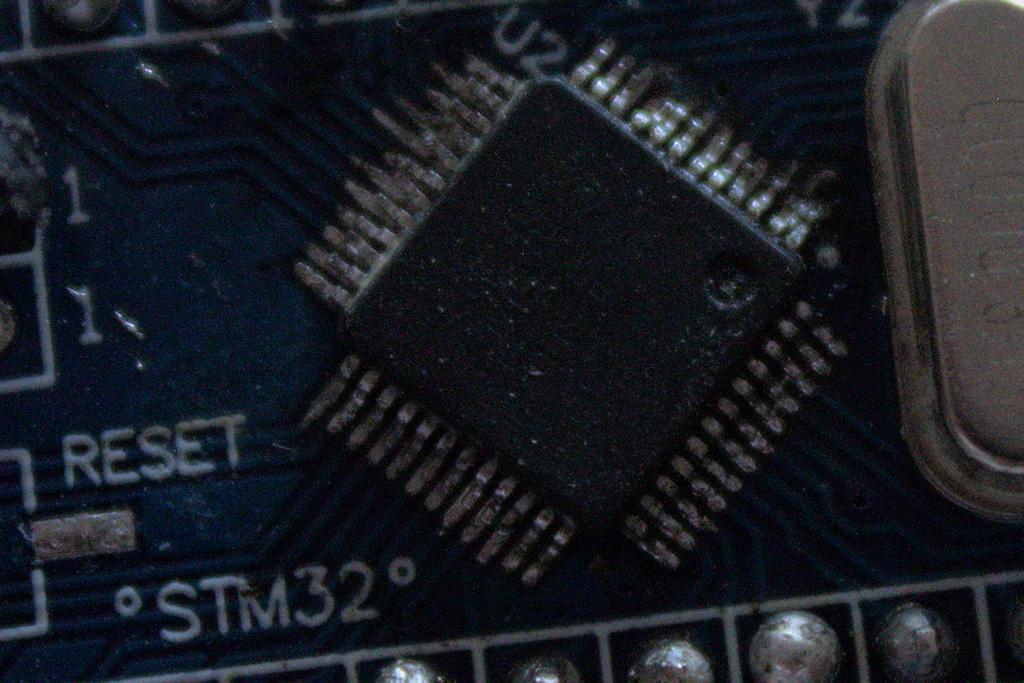
Stm32f103 chips and the knock-offs come in lqfp-48 packaging. They are square in shape with width and height of only 6.75mm. They have twelve pins on all four sides adding to 48 pins. That makes them smaller than a finger nail and extremely difficult to hand solder.
How
Removing the chip - Rotary Tool
I’ve tried to different ways of removing the chips. It’s difficult to desolder pin by pin and even with a dentists hook you’re likely to tear off one of the pins.
A destructive approach is to cut of the the pins close to the chip by using a rotary tool. Once you make it across all sides the chip will fall off. It’s unusable afterwards, but as these were knock-off chips that doesn’t bother me much. After that you can clean up the board with the soldering iron.
Removing the chip with a rotary tool
Before clean-up with soldering iron
After clean-up
Removing the chip - Heat Gun
A different approach that also works well is to put the chip in the bench vice and hit it with a heat gun at around 300 °C. By pushing around with tweezers the chip will eventually fall off. No cleaning is required and the chip is likely to have remained intact.
Soldering the new chip - Internet trick
Soldering the new chip is where the real challenge is. You see many videos online where people will coat the soldering iron in solder and just “smear over” the pins somehow magically making perfect solder joints. It could be that with just the right amount of solder, perfect temperature and clever use of solder flux and experience that can work.
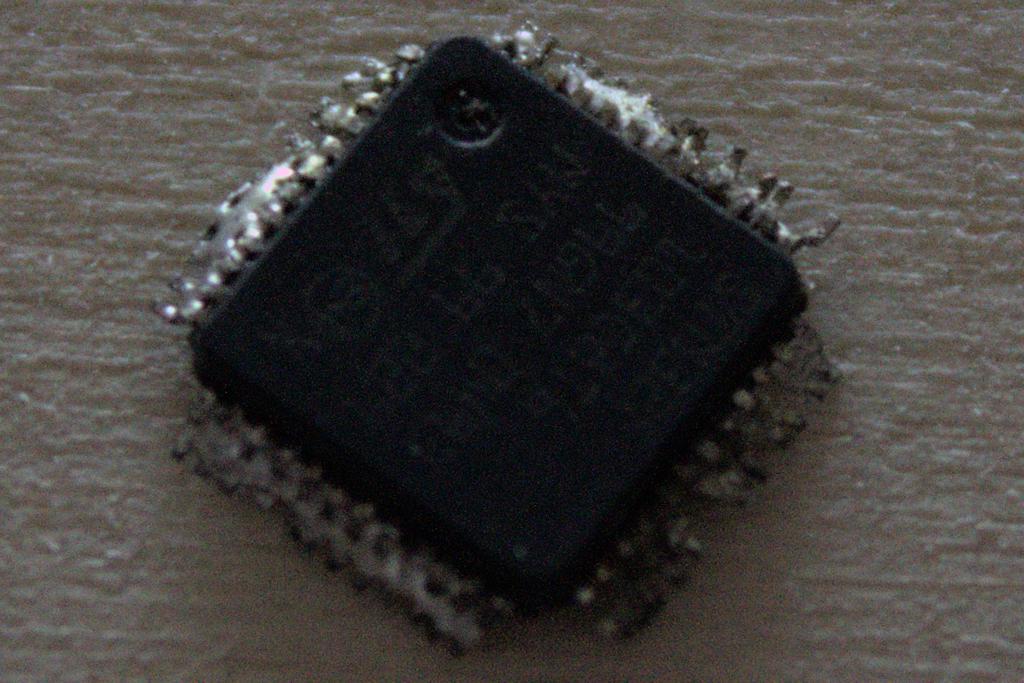
This is what happened, when I tried:
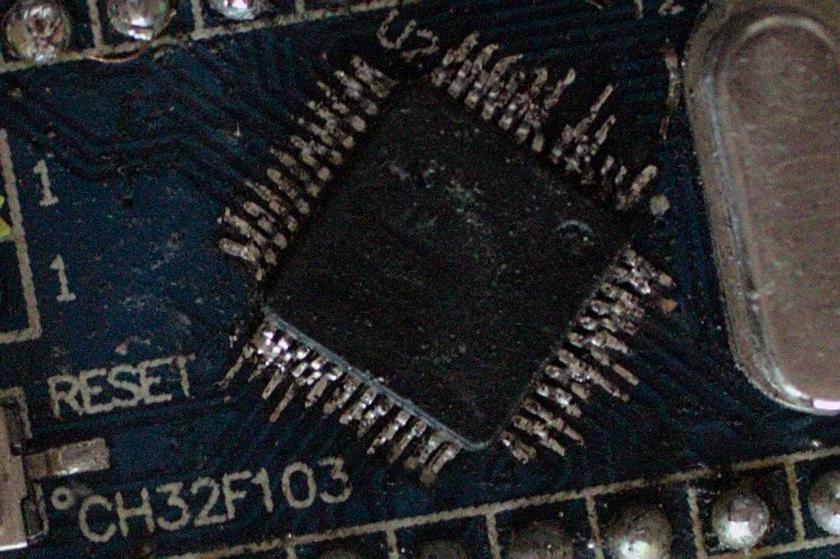
Messing up an Stm32-Chip
Soldering the new chip - Reflow Soldering
Probably the better approach would have been to apply standard Reflow-Soldering techniques: Apply solder past and bake the board in a Reflow-Oven. Perhaps remove all plastic parts and the crystal oscillator to avoid damage before.
Fixing it to some extent
So with that having failed I considered getting better equipment. My thirty year-old old Ersa MS 8000 soldering station that I’ve inherited and was probably auctioned off at the time when Siemens updated their equipment, is doing a terrible job of keeping the temperature. Additionally there seems to be some short in the cable causing the temperature to drop depending on at what angle the soldering tip is. I’ve measured some 50 to 100°C difference of the temperature that was set and that the soldering tip had.
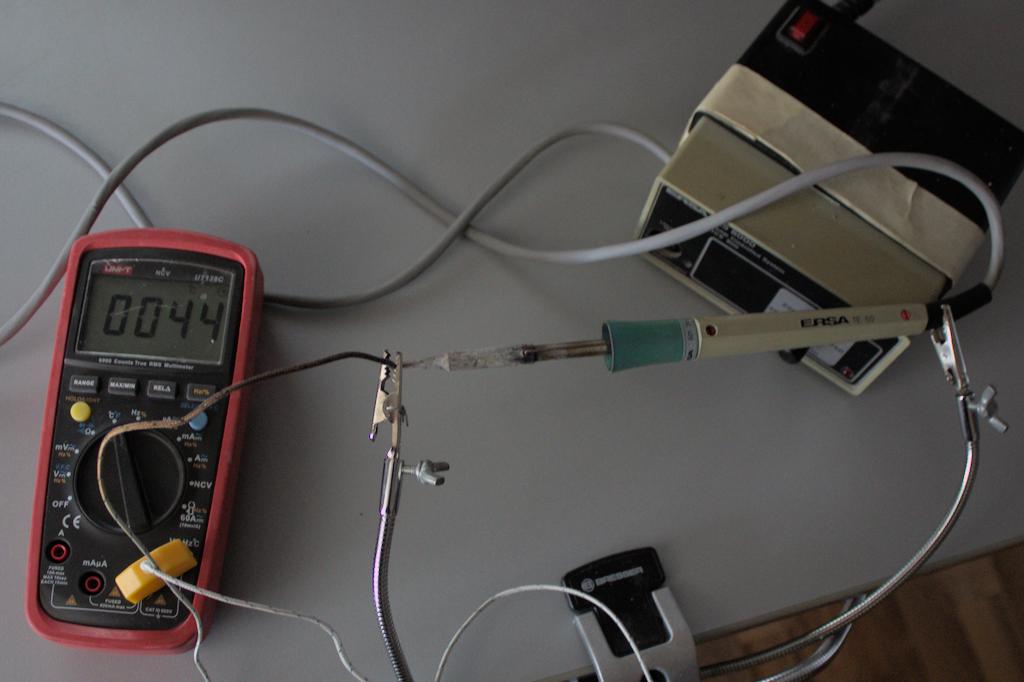
Time to retire my soldering station
Simple and elegant temperature controller, but inaccurate after many years.
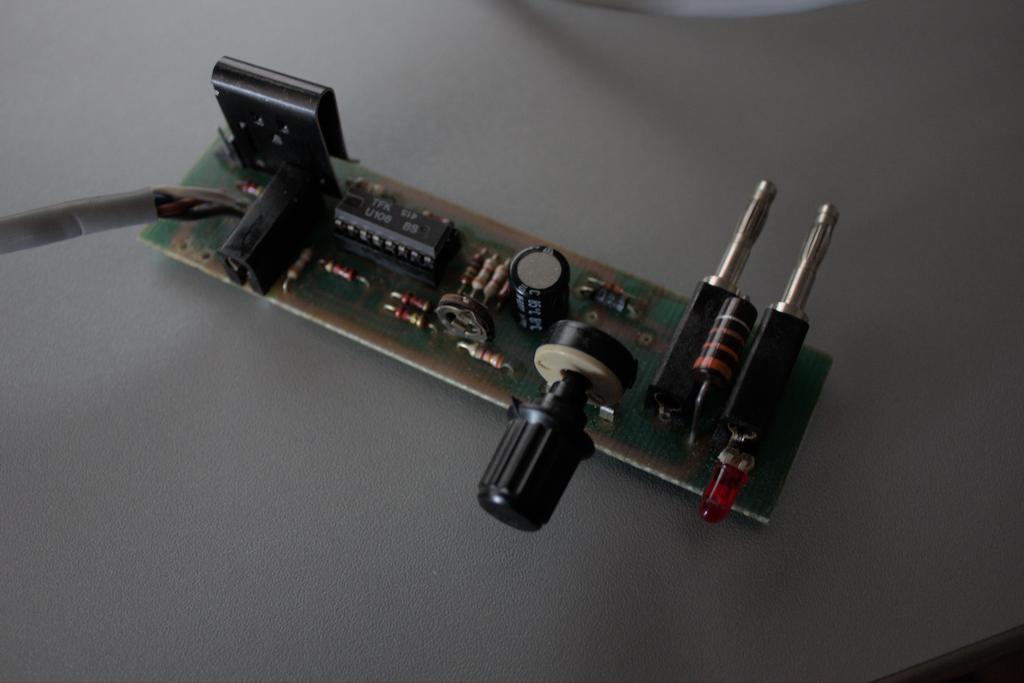
I briefly thought about acquiring a desoldering station, but they are expensive. Since I have a small 24V vacuum pump and a manual solder sucker that wasn’t of much use here I connected a tube to the pump and taped the other end to the tip of the solder sucker. That would have work well as a basic desoldering station - that is if keep the pump from riding off the table - but it was of no use here.

Ghetto desoldering station
In the end I went out and bought a new soldering station with a fresh soldering tip and digitally adjustable temperature. I also got very fine desolder wick, some solder flux and thinner solder.
With the chip likely destroyed anyway I did some experimentation and tried to clean the solder off best I could with the new equipment and materials.
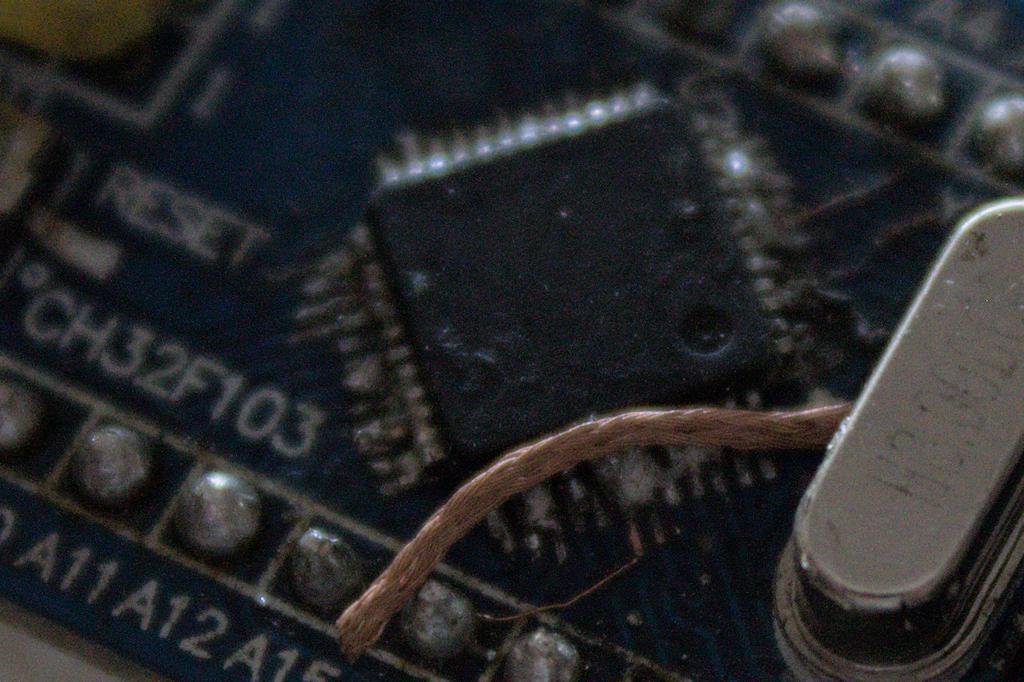
I removed the chip with the heat gun, but found that there it’s really difficult to remove solder from the chip when it is not on the board. So I soldered it back on to the board and reheated all pins.
Solder everywhere after removal with Heat Gun
Chip back on the board
With some practice I found the best way to remove the solder is to put approx. 1cm of solder wick across the pins. Then literally drown the whole thing in solder flux.
Soldering Wick
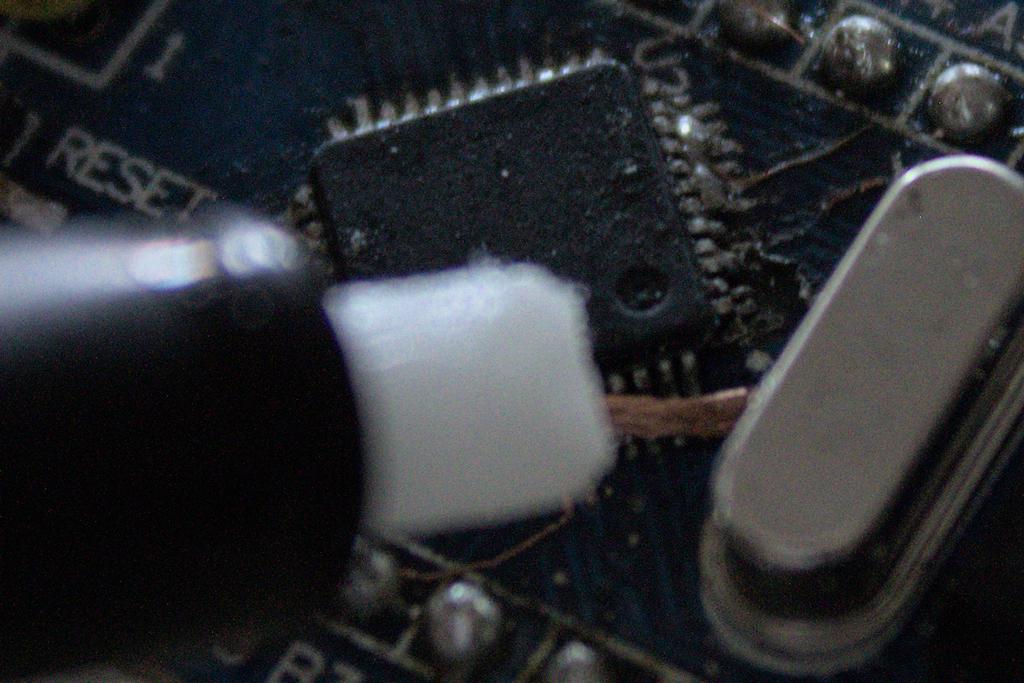
Adding solder flux
Apply heat with the soldering iron
Solder moves from the chip to the wick
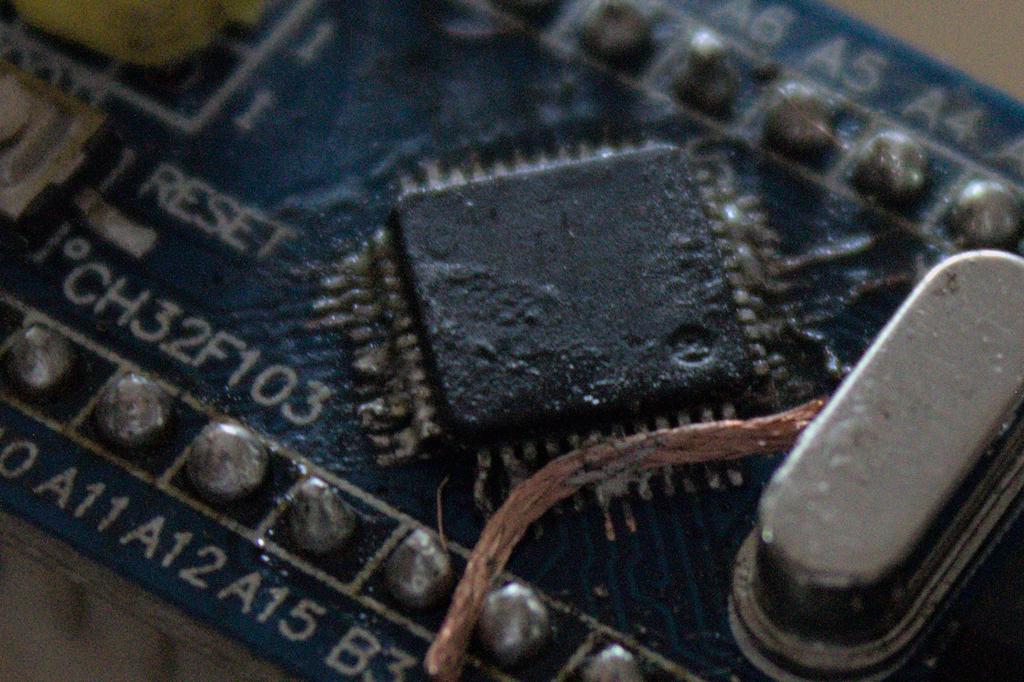
In the end this chip is still completly messed up, as it was beyond repair to begin with, but you can see a lot of solder was removed and it looks a lot better than before.
Still a mess, but a bit better
The second board
On the second attempt I was more careful to begin with. Though the chip wasn’t fully soldered, using the thin solder improved the process a lot. After removing some solder with the solder flux and wick it looked a lot better than the first board, but some pins got bent in the process.
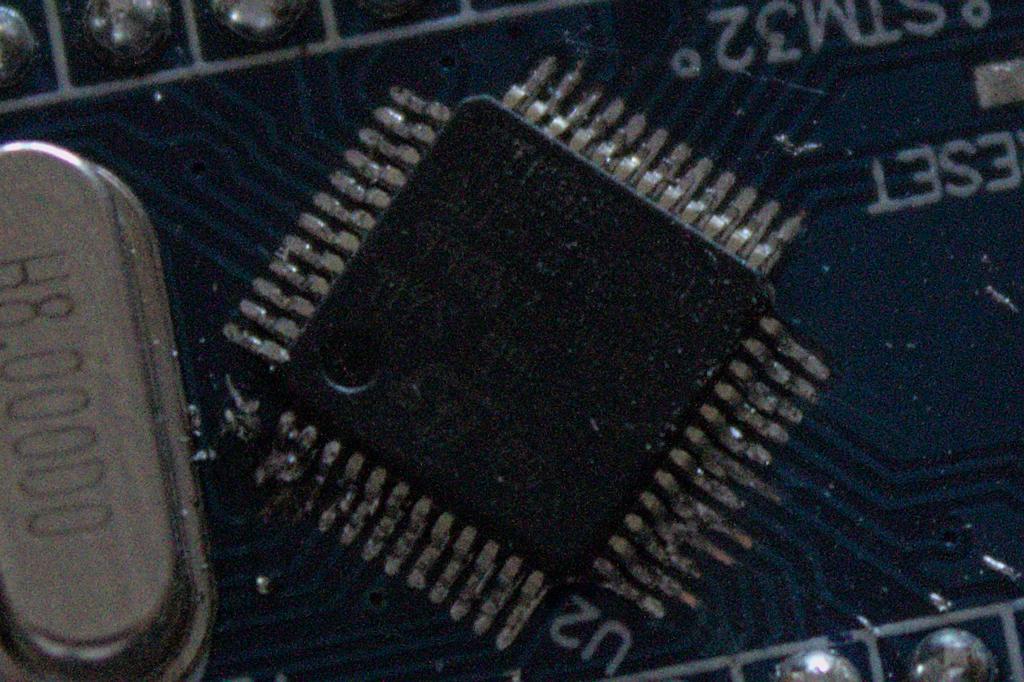
Second board was in better condition to begin with
After excess solder removal
Progress
I can see how some experts may be able to hand solder chips in lqfp-48 packaging, but it’s definitely tedious and error-prone.
My best advice is to get chips in larger scale packaging, if possible. If that’s not possible re-flow-soldering techniques in an oven make much more sense.
What I did find is that quality solder wick, flux and soldering irons come extremely handy at that small scale. Some repairs can be made.
The 300°C heat gun is absolutely fantastic at desoldering components. With caution that way of removal is non-destructive.
My next move will probably be to get a few pre-made lfqp-48 breakout boards and then reflow solder Stm32f103’s to them. Possibly not by oven, but by careful use of the heat gun.