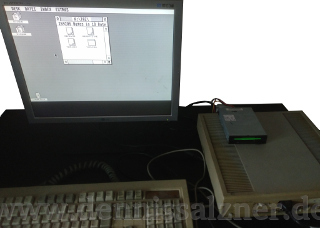
Fig 1. Atari ST Mega
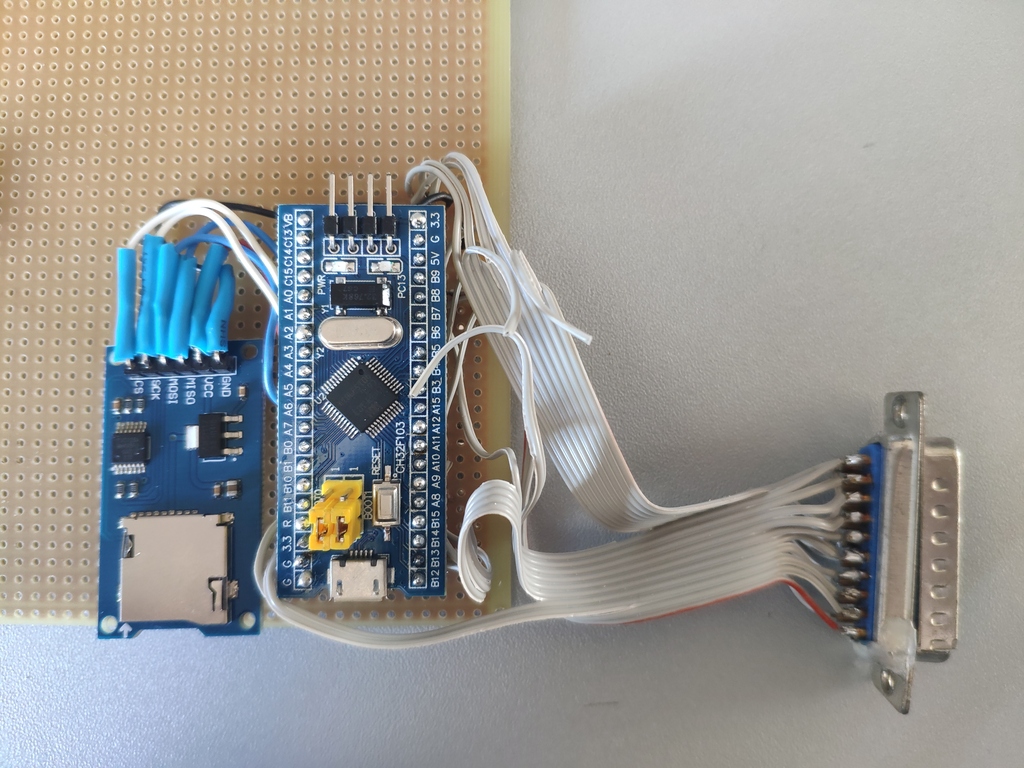
Fig 2. Acsi2Stm - Atari ST ACSI to SD card converter
What
There have been some advancements on the storage device emulation for old Atari’s since that my last post on the Atari ST.
When
It’s been a while since my last post on the Atari ST. Back then I was running the Atari ST with a modern LCD monitor through a custom VGA adapter. The Floppy drive of my Atari is broken, but with some clever wiring we can connect a standard IBM-compatible Floppy drive.
This IBM-compatible Floppy drive was later replaced with the Gotek Floppy emulator. That device has a USB port to which USB-Sticks with Floppy Disk Image files can be connected. Two buttons on the Floppy emulator can be used to cycle through the images. It’s a nice solution, but Floppy disks - as some of you may remember - are limited to 720kb (single-density) or 1.44mb (double-density).
Emulating an Atari-compatible ACSI (similar to SCSI, but not directly compatible) hard disk is a better method for connecting modern storage media to the Atari ST.
Background
So what options are there?
Floppy Emulation
Instead of connecting to the hard drive port of the Atari one can connect to the floppy disk ports.
This solution is considerably easier, but as stated above, floppy disks - also emulated ones - are very limited in size and read/write speeds.
SCSI Adapters
As ACSI is rather similar to SCSI an older solution has always been to use ACSI-to-SCSI adapters and antiquated SCSI hard drives.
This solution requires adapters that are rare and expensive and also functional SCSI drives are not easy to find nowadays.
UltraSatan
A method I’ve mentioned in the last post are using the UltraSatan adapters. The design is open-source and the schematic reveals how it works. It consists of a small 8-bit AtMega micro controller and a CPLD. CPLDs are cheaper precursors of FPGAs. They contain less gates and are cheaper. Xilinx CPLDs can be flashed with the same Xilinx ISE software that is also used for programming FPGAs. The reason the CPLD was required is due to timing requirements of the ACSI connection. The CPLD can react to a changes in signal quicker, latch the data and let the Atmega retrieve it, when it is ready.
I actually bought the same CPLD - the Atmega’s I have in my workshop - and was planing on hand soldering the design, but never got around to doing so. Due to the two devices, CPLD and Atmega, the design requires programming two devices and it requires a lot of soldering.
This solution requires a lot of components and complicated wiring.
RaSCSI
The UltraSatan was updated to a version using the RaspberryPi. Some other hardware developers were able to emulate an ACSI hard drive directly from the Raspberry Pi without additional hardware. The RaSCSI adapter connects to a Raspberry Pi. It uses a series of octal buffers to do 5V to 3.3V conversion to bring the ACSI port to compatible voltages for the Raspberry Pi. The rest is handled in software. The charm is that data can be uploaded to the Raspberry Pi via it’s network connections.
This solution requires buffer chips and a Raspberry Pi doing software emulation. It feels wrong to have a significantly more powerful computer simulating a hard drive for a vintage computer. It also requires booting the Raspberry Pi before it can be used. In my experience - it could just be me - Raspberry Pi’s are notoriously unstable.
How
Acsi2Stm
My current favorite solution is the Acsi2Stm. It’s a simple adapter for connecting SD-Cards to the ACSI port of Atari STs. It uses the STM32 microcontrollers (STM32F103C8T6 compatible boards) that are 3.3V and 5V tolerant, so we don’t need the buffer chips. It can be powered by a standard USB charger (but take note of the warning in the read-me “Do NOT connect USB data lines on the STM32”). The STM32 can handle the timing so no additional CPLD oder FPGA is required. And as it’s only a micro controller it’s instantly ready without a boot-up delay. The wiring effort for soldering this adapter is also minimal. The Atari ST ACSI Plug has 20 pins, so 20 x 2 solder joints plus 6x2 for the SD card are sufficient. With some soldering experience this adapter can be built in an evening.
Progress
It took me only approx. 2 hours to solder the entire board (Fig. 1). Now I’ve got good solution for connecting modern mass storage to the Atari ST.